No products
Product successfully added to your shopping cart
There are 0 items in your cart. There is 1 item in your cart.
Modules
Top sellers
-

Services
1,00 € -

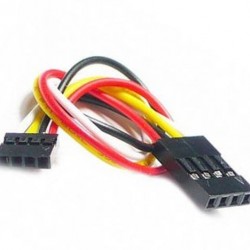
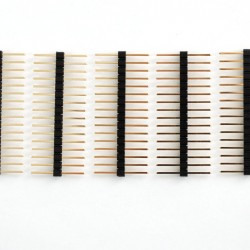
4 Pin Dual-female...
0,85 € -

-

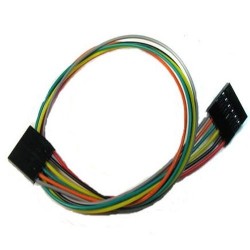
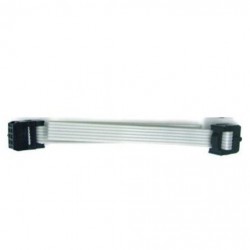
6 Pin Dual-female...
1,89 €
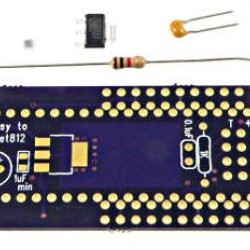
 View larger The picture may differ from the original
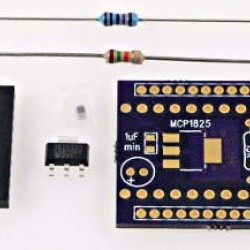

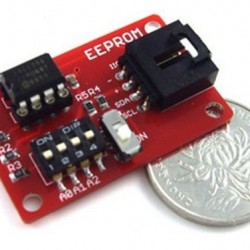
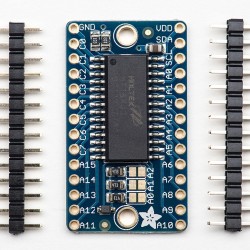
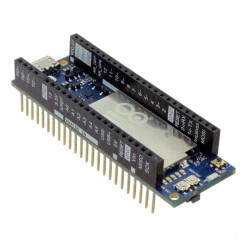
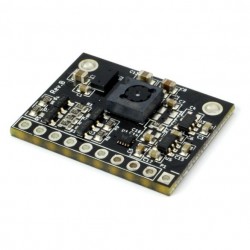
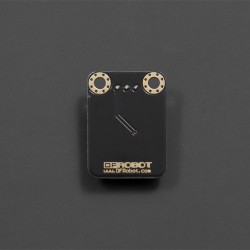
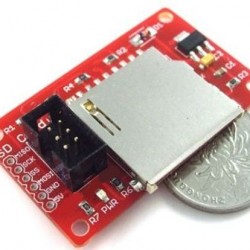
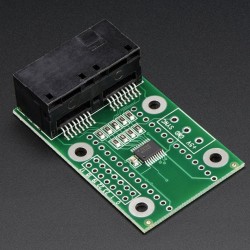
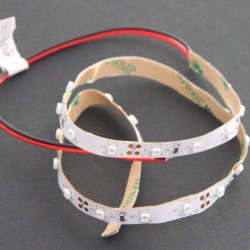
If you need to do some data storage in Arduino, then using the EEPROM is probably the most simple practices. In actual,Arduino used ATmega chip itself has certain EEPROM memory, but only limited number. We design the external EEPROM memory module which use I2C bus line to connect with Arduino, and with pluggable chip, insert in this series, so it will easy to expand capacity, basically just need to insert a bigger capacity of EEPROM chip.
The storage module is based on EEPROM chips of AT24C series, 512K bit capacity, that's 64k bytes. The EEPROM module communicate with Arduino through the I2C interface.It will be better to use with Arduino-Sensor-Shield-V4.0 and the Arduino-I2C-COM-Cable.
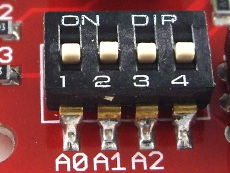
The storage module is based on AT24C series of EEPROM chips, which the I2C base address is 0×50, and the last three addresses can be set according to need.
So we should set the last three address when we firstly use, it is through the A2, A1 and A0 of the four position DIP switch. Dial the DIP switch to up,the corresponding is 1; Dial the DIP switch to down,the corresponding is 0. Namely,if move the A2, A0, A1 to up, the corresponding address is 0×57, But if move the A2, A0, A1 to down, the corresponding address is 0×50.
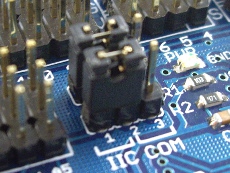
If you are using Arduino sensor shield V4 board, pay attention to that the position of IIC/COM jump line should be set up to the IIC side, because we need to use the I2C connection mode.
This module can be used with Arduino Special Sensor Shield V4.0.
You can do some simple design about it,it support“plug and play”.
Tags
 22,90 €
 15,99 €
") 3,99 €
3,99 €") 3,99 €
3,99 €

Related Products
-
Barometric...
9,60 €Add to cart -
10-pin IDC Socket Rainbow Breakout Cable
3,40 €Add to cart -
4 Pin Dual-female Jumper Wire - 200mm
0,85 €Add to cart -
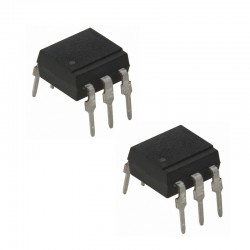
4N35 Optocoupler
0,90 €Add to cart -
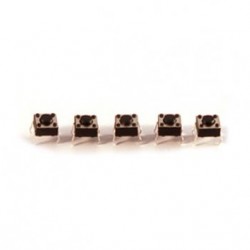
5 PushButton 6x6
1,99 €Add to cart -
6 Pin Dual-female Jumper Wire -600mm
1,89 €Add to cart -
Adafruit 16x8 LED Matrix Driver Backpack
6,99 €Add to cart -
Adafruit 9-DOF Absolute Orientation...
33,50 €Add to cart -
Adafruit Feather M0 RFM69 Packet Radio
25,99 €Add to cart -
Adafruit HUZZAH ESP8266 Breakout
11,45 €Add to cart -
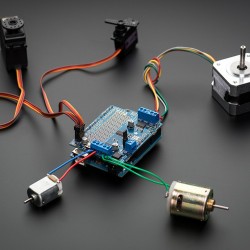
Adafruit Motor/Stepper/Servo Shield...
22,94 €Add to cart -
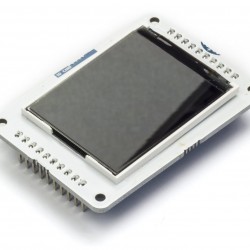
Arduino 1.77 inch SPI LCD Module with SD
17,10 €Add to cart -
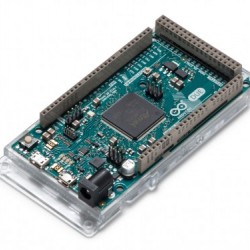
Arduino Due
39,99 €Add to cart -
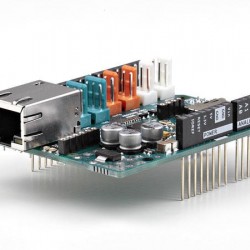
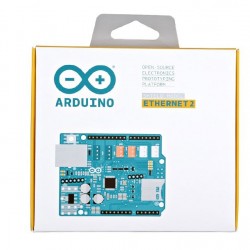
Arduino ETHERNET shield 2 (without PoE)
20,00 €Add to cart -
Arduino ETHERNET shield 2 CON PoE -...
33,50 €Add to cart -
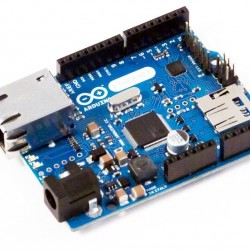
Arduino Ethernet WITHOUT Poe
39,90 €Add to cart -
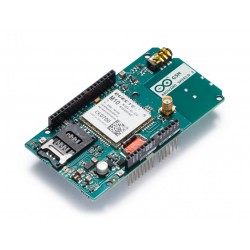
Arduino GSM Shield 2 (antenna connector)
59,50 €Add to cart -
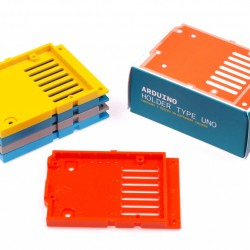
Arduino Holder type Uno
7,12 €Add to cart -
Arduino IDC-6 Special Cable-10cm
1,95 €Add to cart -
Arduino Industrial 101
32,50 €Add to cart -
Arduino Leonardo (+headers)
17,20 €Add to cart -
Arduino Leonardo ETH WITH PoE
51,90 €Add to cart -
Arduino Leonardo ETH without PoE
39,90 €Add to cart -
Arduino LilyPad USB ATmega 32U4
19,50 €Add to cart -
Arduino Lucky Shield w/BME280
59,00 €Add to cart -
Arduino M0
18,00 €Add to cart -
Arduino Mega2560 Rev3
32,00 €Add to cart -
Arduino Micro
18,90 €Add to cart -
Arduino Nano
18,50 €Add to cart -
Arduino Sensor Extension Cable-30cm
1,80 €Add to cart -
Arduino Tian
87,00 €Add to cart -
Arduino Uno Rev3 with Long Pins
19,80 €Add to cart -

Arduino Uno WiFi
36,90 €Add to cart -
Arduino USB 2 Serial Micro
10,00 €Add to cart -

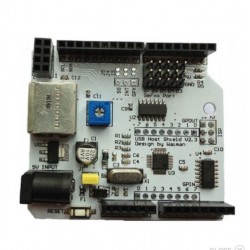
Arduino USB Host Shield
21,60 €Add to cart -
Arduino Yun
55,80 €Add to cart -
Arduino YUN mini
56,00 €Add to cart -
Box for Arduino
7,02 €Add to cart -
Box for Arduino YUN
7,11 €Add to cart -

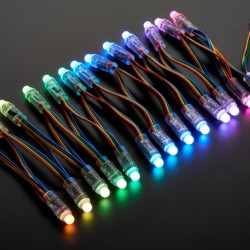
Breadboard-friendly RGB Smart NeoPixel
9,15 €Add to cart -
Crazyflie 2.0 - BigQuad Deck
8,00 €Add to cart -
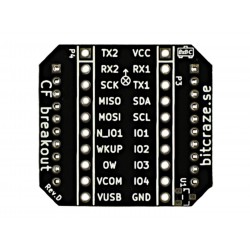
Crazyflie 2.0 - Breakout expansion board
4,50 €Add to cart -
Crazyflie 2.0 - Female expansion...
2,00 €Add to cart -
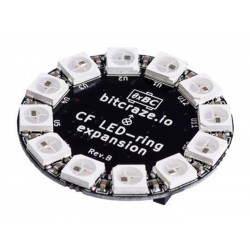
Crazyflie 2.0 - LED-ring Expansion Board
22,00 €Add to cart -
Crazyflie 2.0 - male expansion...
2,90 €Add to cart -
Crazyflie 2.0 - Prototyping expansion...
5,00 €Add to cart -
Crazyflie 2.0 Z-ranger deck board
25,00 €Add to cart -
Crazyflie 2.0: 4 x spare 7 mm motor...
5,50 €Add to cart -
Crazyflie2.0 - Battery holder...
5,20 €Add to cart -
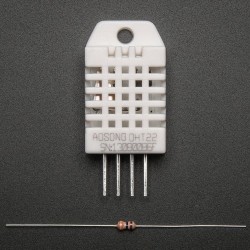
DHT22 temperature-humidity sensor +...
11,45 €Add to cart -

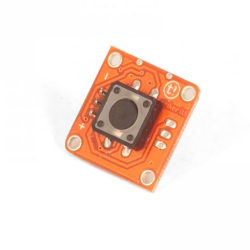
Digital Commom Button Module
3,99 €Add to cart -
Digital Commom Button Module V2.0...
5,99 €Add to cart -
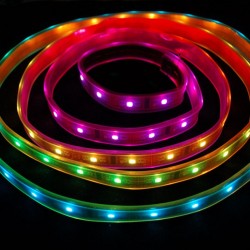
Digital RGB LED Weatherproof Strip-...
34,44 €Add to cart -
Expansion Pack
53,10 €Add to cart -
Extra-long break-away 0.1" 16-pin...
3,45 €Add to cart -
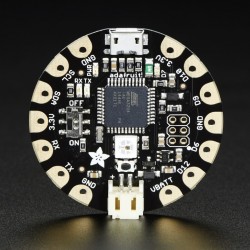
FLORA - Wearable electronic platform
14,60 €Add to cart -
FLORA 9-DOF...
22,99 €Add to cart -
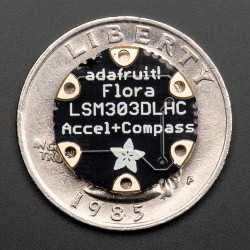
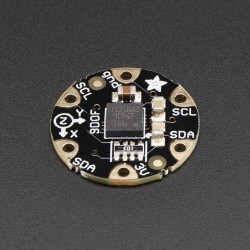
FLORA Accelerometer/Compass Sensor
17,20 €Add to cart -
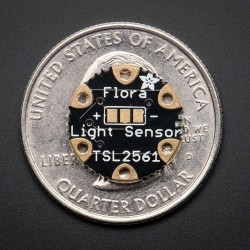
Flora Lux Sensor - TSL2561 Light...
9,15 €Add to cart -
Flow Breakout Board
45,00 €Add to cart -
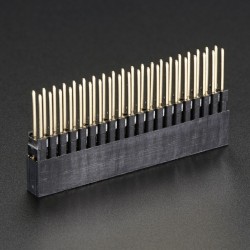
GPIO Header for Raspberry Pi
2,00 €Add to cart -
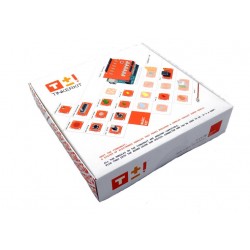
KIT Workshop - Base level WITHOUT...
35,00 €Add to cart -
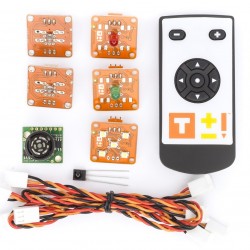
Kit Workshop- Basic level
69,60 €Add to cart -
LattePanda 2G/32BG kit
172,90 €Add to cart -
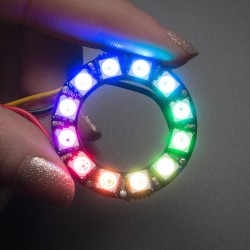
NeoPixel Ring - 12 x WS2812 5050 RGB...
8,50 €Add to cart -
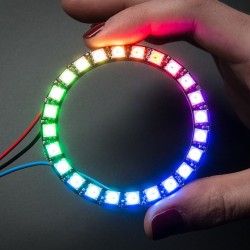
NeoPixel Ring - 24 x WS2812 5050 RGB...
22,94 €Add to cart -

NeoPixel Shield for Arduino - 40 RGB...
32,14 €Add to cart -
Pixie - 3W Chainable Smart LED Pixel
17,20 €Add to cart -

Pro Android Open Accessory...
36,00 €Add to cart -
Rainbowduino RGB Matrix Shield
41,90 €Add to cart -
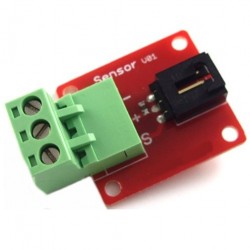
Sensor Shield V5.0 -Arduino Compatible
15,99 €Add to cart -
Shield - Wireless Shield
15,90 €Add to cart -
Shield stacking headers for Arduino...
2,25 €Add to cart -
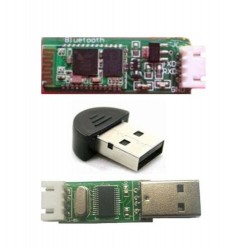
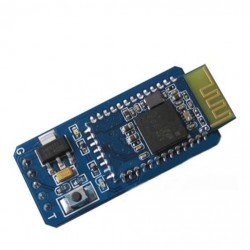
Slave Serial Port Bluetooth Module Kit
34,50 €Add to cart -
Stacking Header for Pi A+/B+/Pi 2
3,40 €Add to cart -
Teensy 3.2 Kit
74,99 €Add to cart -

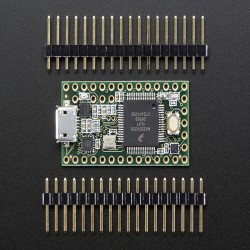
Teensy 3.2 With Pins
25,30 €Add to cart -
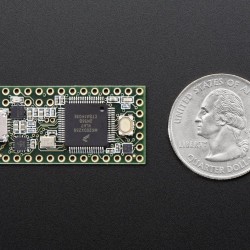
Teensy 3.2 Without Pins
22,30 €Add to cart -
TinkerKit - Basic Kit
79,90 €Add to cart -
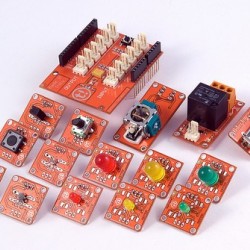
TinkerKit - Starter Kit
79,90 €Add to cart -
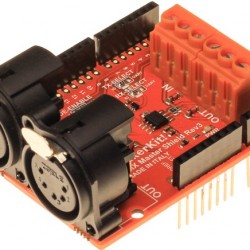
Tinkerkit Dmx Master Shield
20,00 €Add to cart -
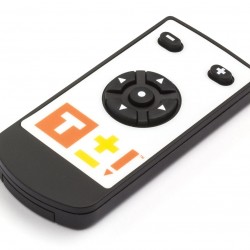
TinkerKit IR Remote Control
4,90 €Add to cart -
TinkerKit Mega Sensor Shield
14,60 €Add to cart -
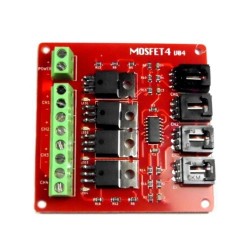
TinkerKit Mosfet module
6,30 €Add to cart -
TinkerKit Sensor Shield V.2 MODULE
12,10 €Add to cart -
Touch Board
46,90 €Add to cart -
USB Host Android ADK Shield V2.3
16,90 €Add to cart -
Wire Male/Female 10 pcs
2,99 €Add to cart -
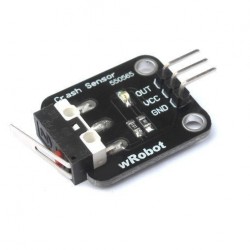
Wrobot Crash Sensor
3,99 €Add to cart -

32x32 RGB LED Matrix Panel - 4mm Pitch
57,99 €Add to cart -
4 Route MOSFET Button
22,99 €Add to cart -
Adafruit GEMMA v2
11,45 €Add to cart -
Arduino Motor Shield Rev3
20,00 €Add to cart -
Arduino Self-Adhesive Breadboard -...
5,90 €Add to cart -
Arduino Self-Adhesive Breadboard -...
3,75 €Add to cart -
Digital Output-Port Shield V2.0
10,39 €Add to cart -
Full Breadboard PCB Module
5,90 €Add to cart -
Gravity: 9 Pcs Sensor Set for Arduino
31,68 €Add to cart -
Gravity: Digital Vibration Sensor
5,18 €Add to cart -
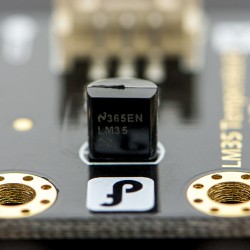
Gravity:Analog LM35 Linear...
5,18 €Add to cart -
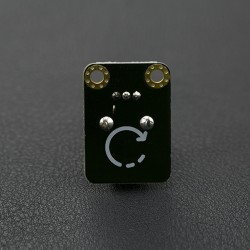
Gravity:Analog Rotation Sensor V2
4,03 €Add to cart -
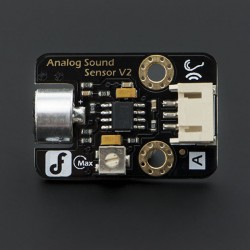
Gravity:Analog Sound Sensor
7,94 €Add to cart -
Gravity:DIGITAL IR Transmitter Module
5,18 €Add to cart -
IR Kit For Arduino
8,63 €Add to cart -
Keypad LCD Shield V2.0 -Arduino...
20,69 €Add to cart -
L293D
3,90 €Add to cart -

Making Things Talk 2nd Edition
28,00 €Add to cart -

Medium 16x32 RGB LED matrix panel...
29,99 €Add to cart -

Micro servo
6,85 €Add to cart -
Multi Rotary Sensor -Arduino Compatible
7,59 €Add to cart -
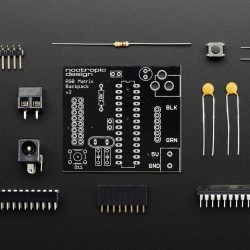
Nootropic RGB Matrix Backpack
22,99 €Add to cart -
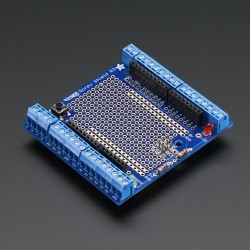
Proto-Screwshield (Wingshield) R3 Kit...
17,19 €Add to cart -
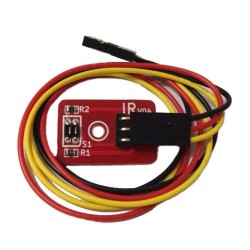
Reflectional Infrared Switch Sensor -...
4,15 €Add to cart -

Rotary Angle Sensor
3,59 €Add to cart -
Serial LCD-1602 Shield
22,90 €Add to cart -

Shield - Xbee
35,00 €Add to cart -

Small DC motor
2,90 €Add to cart -
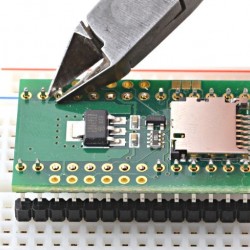
SPI SD Memory Shield
11,39 €Add to cart -

TinkerKit Power LED module
8,90 €Add to cart -
Wrobot Full Color RGB LED Module -A
4,60 €Add to cart -
XBee USB Adapter
14,89 €Add to cart -
Adafruit Ultimate GPS FeatherWing
43,50 €Add to cart -
Controllable Four Outlet Power Relay...
22,00 €Add to cart -
Serial Port Bluetooth Module With...
19,90 €Add to cart -
TinkerKit PushButton module
2,90 €Add to cart -
![TinkerKit Wires [100cm] module](https://corzotech.com/192-home_default/tinkerkit-wires-100cm-module.jpg)
TinkerKit Wires [100cm] module
2,50 €Add to cart -
![TinkerKit Wires [20cm] module](https://corzotech.com/190-home_default/tinkerkit-wires-20cm-module.jpg)
TinkerKit Wires [20cm] module
1,20 €Add to cart -
Universal Qi Wireless Charging Module
32,10 €Add to cart -

White LED Backlight Module
2,25 €Add to cart -
Z-Wave.Me Raspberry Security Bundle,...
132,90 €Add to cart -
Teensy to WIZ812 Ethernet Adaptor Kit
8,69 €Add to cart -
Teensy to XBee Adaptor Kit
6,99 €Add to cart -

64x32 RGB LED Matrix - 3mm pitch
91,99 €Add to cart -
ESP32 WiFi-BT-BLE MCU Module /...
8,49 €Add to cart -
PoE Module 12V
10,00 €Add to cart -
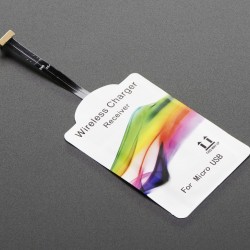
Universal Qi Wireless Receiver Module
17,20 €Add to cart -
Wire AWG 20AWG RGB 50m/roll
23,90 €Add to cart -
WIZ820 + SD Adaptor
6,99 €Add to cart -
12mm Diffused Thin Digital RGB LED...
39,99 €Add to cart -
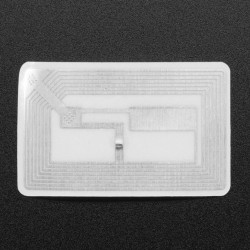
13.56MHz RFID/NFC Sticker - 1KB
2,89 €Add to cart -
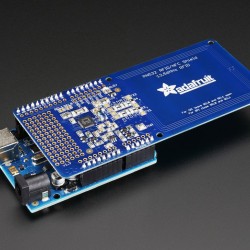
Adafruit PN532 NFC/RFID Controller...
45,99 €Add to cart -
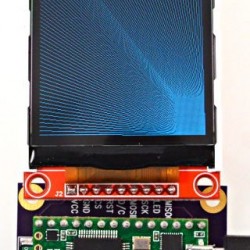
Display color TFT 320x240
9,89 €Add to cart -
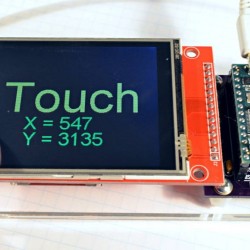
Display color TFT 320x240 Touchscreen...
13,90 €Add to cart -

NeoPixel 1/4 60 Ring - WS2812 5050...
11,45 €Add to cart -
OctoWS2811 Adaptor for Teensy 3.2
12,49 €Add to cart -
Adafruit 0.56" 4-Digit 7
13,75 €Add to cart -
Audio Adaptor Board for Teensy 3.0 &...
17,49 €Add to cart -
InfraRed flexible LED Strips...
14,29 €Add to cart -

InfraRed Flexible LED Strips...
23,39 €Add to cart -
InfraRed LED Strips SMD3528-1200-IR...
29,89 €Add to cart -

InfraRed LED Strips SMD3528-30-IR...
14,16 €Add to cart -
InfraRed LED Strips SMD3528-300-IR...
12,10 €Add to cart -

InfraRed Led Strips SMD3528-600-IR...
19,36 €Add to cart -
InfraRed LED Strips SMD5050-600-IR...
39,71 €Add to cart -
Micro SD Card Adaptor
9,39 €Add to cart -
RGB digital led strip APA102 60 leds...
106,80 €Add to cart -

13.56MHz RFID/NFC Bracelet - 1KB
4,69 €Add to cart -
Real Time Clock Module (DS1307) V1.1
5,06 €Add to cart
CORZOTECH - EASY LIFE FOR INTERACTION