No products
Product successfully added to your shopping cart
There are 0 items in your cart. There is 1 item in your cart.
Teensy
Top sellers
-

Services
1,00 € -

4 Pin Dual-female...
0,85 € -

-

6 Pin Dual-female...
1,89 €
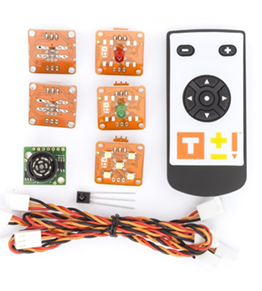


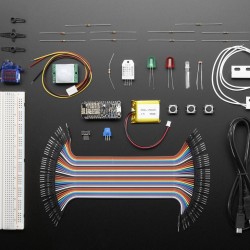
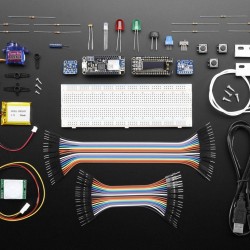
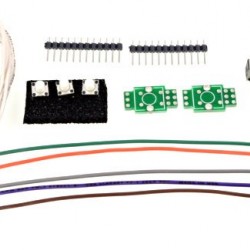
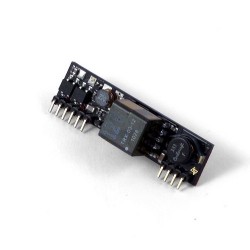
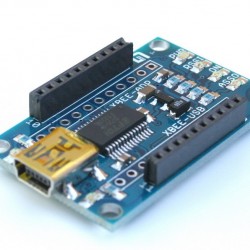
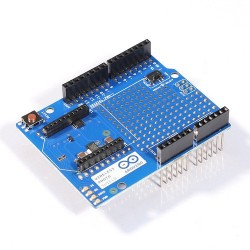
This kit lets you easily connect Teensy to a XBee wireless module.
The Arduino XBee Library is fully compatible.
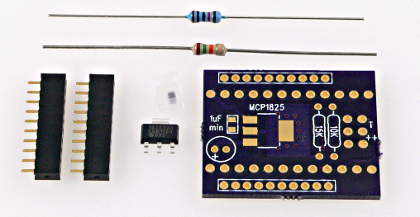
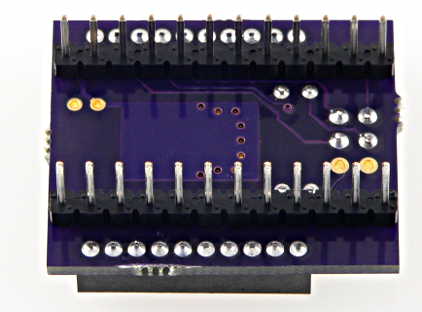
Kit Contents:
| Items Not Included: XBee Module Teensy or Teensy++ Header pins, 12x1 Sockets, 12x1 |
Assembly Steps:
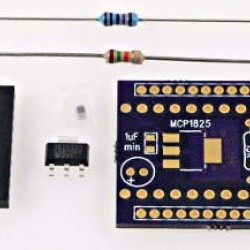
1: Trim board edges.
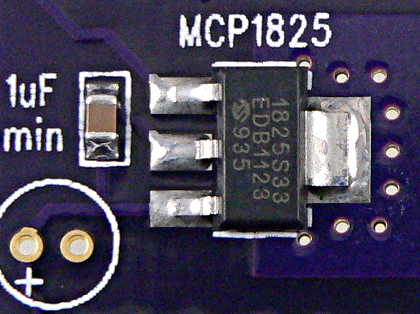
2: Solder MCP1825 and 1 µF Capacitor
Tweezers should be used to hold the each part in place while soldering the first pin. The MCP1825 tab should be soldered last. The iron may need to be left in contact for many seconds to transfer enough heat for the solder to flow.
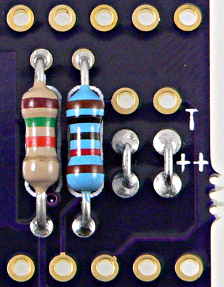
3: Solder 10K & 15K Resistors
The 15K resistor has a tan body, with stripes: Brown, Green, Orange, Gold.
The 10K resistor has a blue body, with stripes: Brown, Black, Black, Red, Brown.
4: Solder 2 jumpers to configure for Teensy vs Teensy++
| Configured for Teensy | Configured for Teensy++ | |
|---|---|---|
 |
|
5: Solder Headers or Sockets for Teensy
You will need headers and/or sockets soldered between the XBee adaptor and Teensy. When soldering headers, a breadboard can be used to hold them straight.
6: Solder sockets to XBee
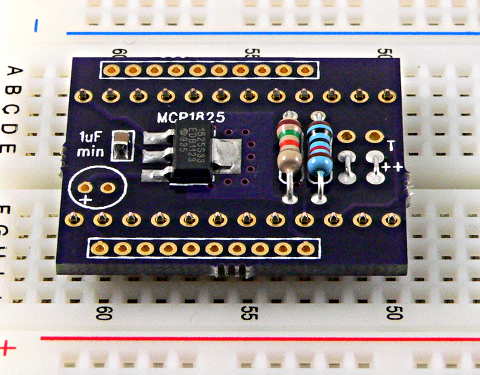
Teensy LC, 3.0 & 3.1 & 3.2 Usage
This XBee adaptor was original designed for Teensy 2.0 and Teensy++ 2.0. However, it can be used with Teensy LC & 3.x with the following changes:
Configure the adaptor for Teensy 2.0. That will route the signals to pins 7 and 8, which are Serial3.
You'll need XBee 0.4. This newest version lets you configure which serial port it uses. In your code, you'll need "Serial3.begin(9600)", and then "xbee.setSerial(Serial3)" to use that port.
Do not use the 15K resistor. Or if you've already soldered it, just cut it off the board. Those 2 resistors divide the 5V transmit signal from Teensy 2.0 to only 3 volts for the Xbee. On Teensy LC, 3.0 and 3.1 and 3.2, the signal is already 3 volts. It's fine to leave the 10K resistor in place. You could also just solder a wire instead of the 10K resistor. Either way is fine.
If using the USBtoSerial program to test, you'll need to edit the code to use Serial3.
Tags
 22,30 €
 25,30 €
 13,95 €
 16,95 €
 12,49 €
 17,49 €
 8,69 €
 9,39 €
 6,99 €
 7,90 €

Related Products
-

Flashing Card Set Power Animals
17,50 €Add to cart -
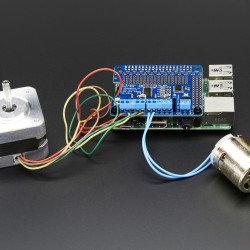
Adafruit DC & Stepper Motor HAT for...
25,89 €Add to cart -
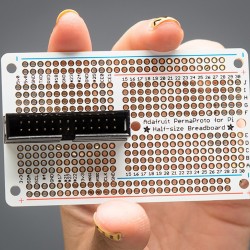
Adafruit Half-size Perma
5,10 €Add to cart -
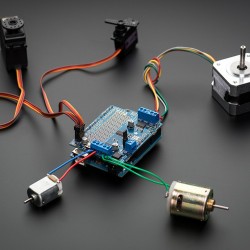
Adafruit Motor/Stepper/Servo Shield...
22,94 €Add to cart -
Chibitronics Starter Kit
32,99 €Add to cart -
Expansion Pack
53,10 €Add to cart -
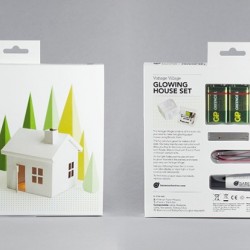
Glowing House Set Voltage Village
25,00 €Add to cart -
Gravity: Starter Sensor Set for...
61,10 €Add to cart -
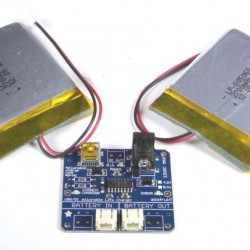
Kit lipoly Batteries
59,99 €Add to cart -
KIT Workshop - Base level WITHOUT...
35,00 €Add to cart -
Kit Workshop- Basic level
69,60 €Add to cart -
Microsoft Azure IoT Starter Kit w
49,50 €Add to cart -
Microsoft Azure IoT Starter Kit w
110,70 €Add to cart -
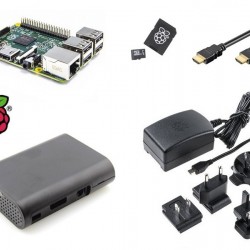
Raspberry Pi 3 Starter Kit Set2
64,19 €Add to cart -
Reflective marker kit 6.5mm
95,00 €Add to cart -
Slave Serial Port Bluetooth Module Kit
34,50 €Add to cart -
TinkerKit - Basic Kit
79,90 €Add to cart -
TinkerKit - LAB
949,90 €Add to cart -
TinkerKit - Pro Kit
169,90 €Add to cart -
TinkerKit - Starter Kit
79,90 €Add to cart -
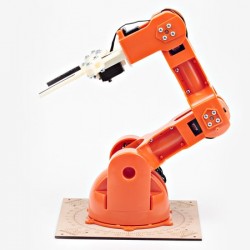
Tinkerkit Braccio
199,00 €Add to cart -

TOUCH BOARD PRO KIT
112,00 €Add to cart -
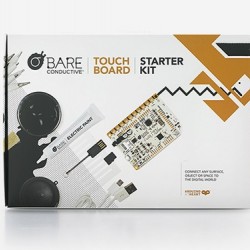
Touch Board Starter Kit
106,90 €Add to cart -
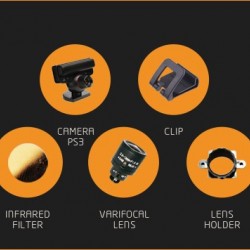
Ps3 Camera Kit
60,00 €Add to cart -
Teensy to WIZ812 Ethernet Adaptor Kit
8,69 €Add to cart -
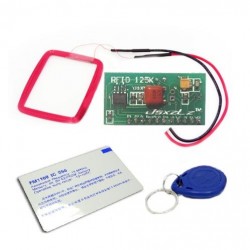
125Khz RFID Mini Module Kits
14,95 €Add to cart -
16-Channel PWM / Servo HAT for...
20,15 €Add to cart -
Adafruit 0.56" 4-Digit 7
13,75 €Add to cart -
Assembled kit for audio tutorial
69,00 €Add to cart -
Huzzah! Adafruit.io Internet of...
43,65 €Add to cart -
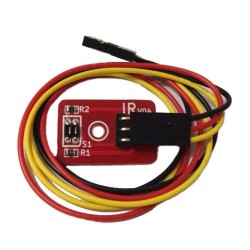
IR Kit For Arduino
8,63 €Add to cart -
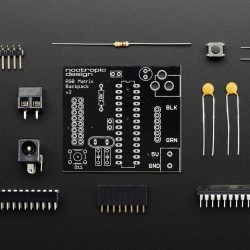
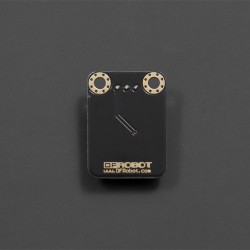
Nootropic RGB Matrix Backpack
22,99 €Add to cart -
Parts for audio tutorial
6,99 €Add to cart -
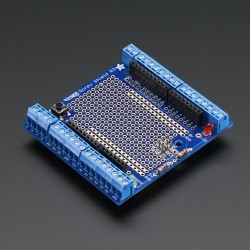
Proto-Screwshield (Wingshield) R3 Kit...
17,19 €Add to cart -
Raspberry Pi 3 Starter Kit Set1
64,39 €Add to cart -
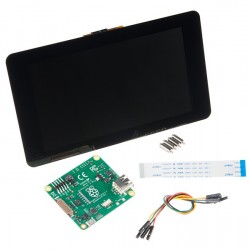
Raspberry Pi LCD - 7" Touchscreen
85,99 €Add to cart -
Adafruit 16x8 LED Matrix Driver Backpack
6,99 €Add to cart -
Adafruit Ultimate GPS FeatherWing
43,50 €Add to cart -
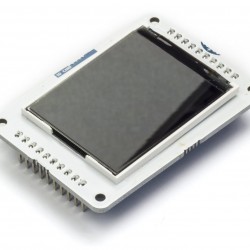
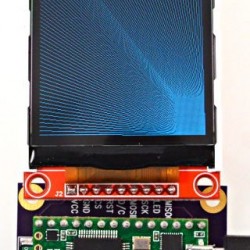
Arduino 1.77 inch SPI LCD Module with SD
17,10 €Add to cart -

Arduino Uno WiFi
36,90 €Add to cart -
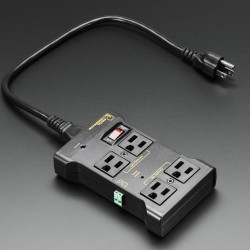
Controllable Four Outlet Power Relay...
22,00 €Add to cart -

Digital Commom Button Module
3,99 €Add to cart -
Digital Commom Button Module V2.0...
5,99 €Add to cart -
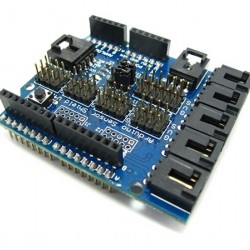
Sensor Shield V5.0 -Arduino Compatible
15,99 €Add to cart -
Serial Port Bluetooth Module With...
19,90 €Add to cart -
TinkerKit Mosfet module
6,30 €Add to cart -
TinkerKit PushButton module
2,90 €Add to cart -
TinkerKit Sensor Shield V.2 MODULE
12,10 €Add to cart -
![TinkerKit Wires [100cm] module](https://corzotech.com/192-home_default/tinkerkit-wires-100cm-module.jpg)
TinkerKit Wires [100cm] module
2,50 €Add to cart -
![TinkerKit Wires [20cm] module](https://corzotech.com/190-home_default/tinkerkit-wires-20cm-module.jpg)
TinkerKit Wires [20cm] module
1,20 €Add to cart -
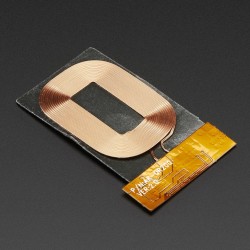
Universal Qi Wireless Charging Module
32,10 €Add to cart -

White LED Backlight Module
2,25 €Add to cart -
Z-Wave.Me Raspberry Security Bundle,...
132,90 €Add to cart -

64x32 RGB LED Matrix - 3mm pitch
91,99 €Add to cart -
Digital Output-Port Shield V2.0
10,39 €Add to cart -
EEPROM Shield With 512K
16,09 €Add to cart -
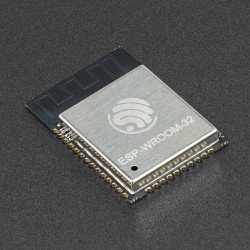
ESP32 WiFi-BT-BLE MCU Module /...
8,49 €Add to cart -
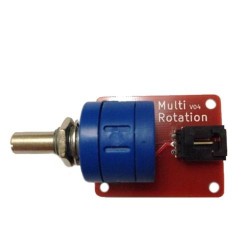
Multi Rotary Sensor -Arduino Compatible
7,59 €Add to cart -
PoE Module 12V
10,00 €Add to cart -
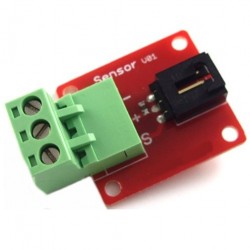
Reflectional Infrared Switch Sensor -...
4,15 €Add to cart -

TinkerKit Power LED module
8,90 €Add to cart -
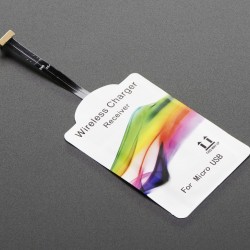
Universal Qi Wireless Receiver Module
17,20 €Add to cart -
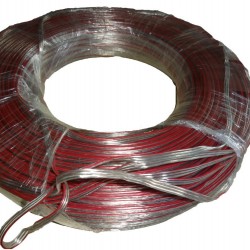
Wire AWG 20AWG RGB 50m/roll
23,90 €Add to cart -
WIZ820 + SD Adaptor
6,99 €Add to cart -
XBee USB Adapter
14,89 €Add to cart -
Display color TFT 320x240
9,89 €Add to cart -
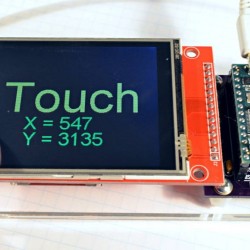
Display color TFT 320x240 Touchscreen...
13,90 €Add to cart -
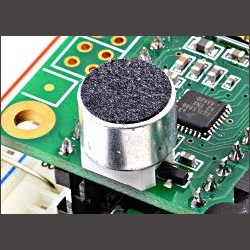
Microphone For Audio Adaptor
1,59 €Add to cart -
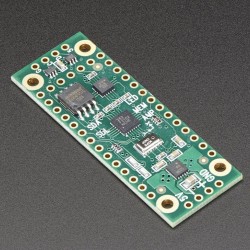
OctoWS2811 Adaptor for Teensy 3.2
12,49 €Add to cart -
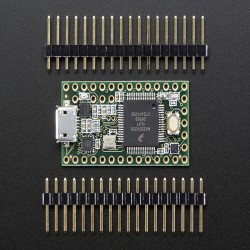
Teensy 3.2 Kit
74,99 €Add to cart -
Teensy 3.2 With Pins
25,30 €Add to cart -
Teensy 3.2 Without Pins
22,30 €Add to cart -
Teensy-LC With Pins
16,95 €Add to cart -
Teensy-LC Without Pins
13,95 €Add to cart -
Audio Adaptor Board for Teensy 3.0 &...
17,49 €Add to cart -
Micro SD Card Adaptor
9,39 €Add to cart -

Prop Shield With Motion Sensors
22,49 €Add to cart -
Prop Shield, Low Cost (no Motion...
9,69 €Add to cart -
Shield - Wireless Shield
15,90 €Add to cart
CORZOTECH - EASY LIFE FOR INTERACTION