Ningún producto
Producto añadido correctamente a su carrito de la compra
Hay 0 artículos en su carrito. Hay 1 artículo en su cesta.
Módulos
¡Lo más vendido!
-

Servicios
1,00 € -

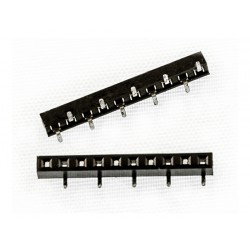
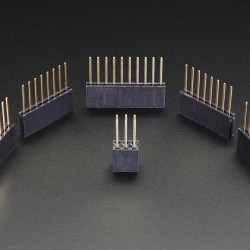
4 Pin Dual-female...
0,85 € -

-

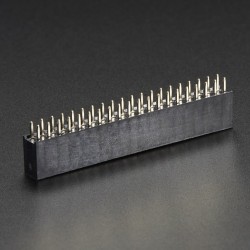
6 Pin Dual-female...
1,89 €
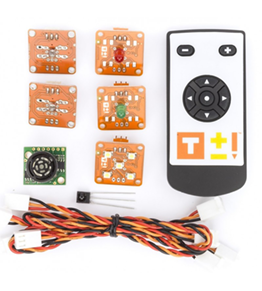

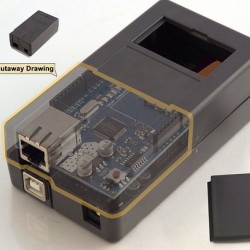
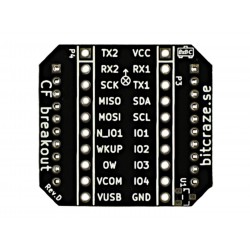
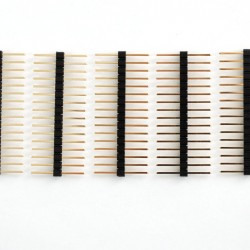
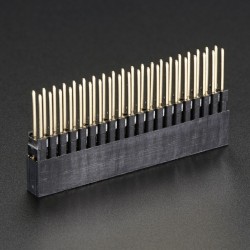
 Ver más grande La imagen puede diferir del original
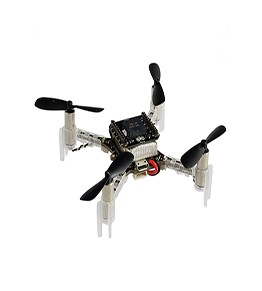

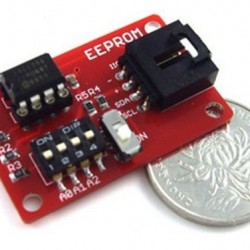
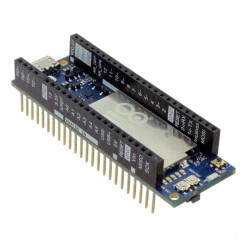
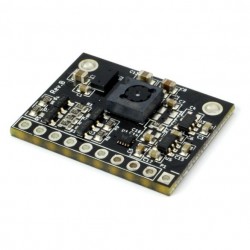
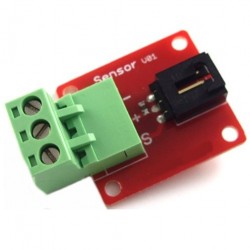
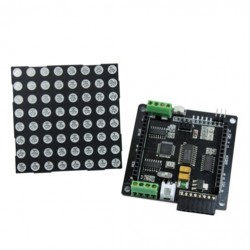
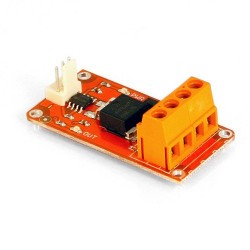
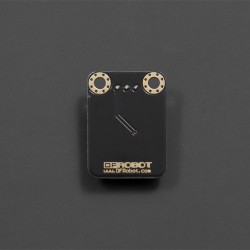
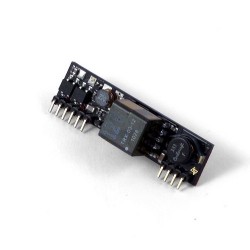
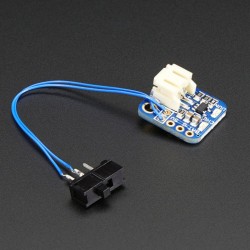
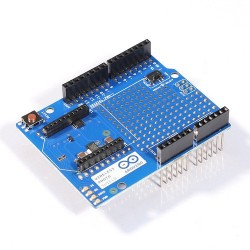
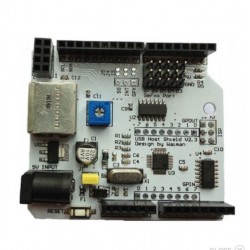
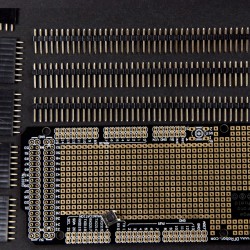
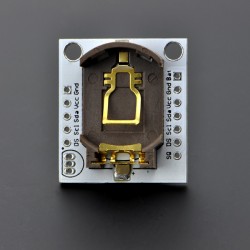
If you need to do some data storage in Arduino, then using the EEPROM is probably the most simple practices. In actual,Arduino used ATmega chip itself has certain EEPROM memory, but only limited number. We design the external EEPROM memory module which use I2C bus line to connect with Arduino, and with pluggable chip, insert in this series, so it will easy to expand capacity, basically just need to insert a bigger capacity of EEPROM chip.
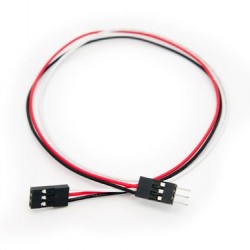
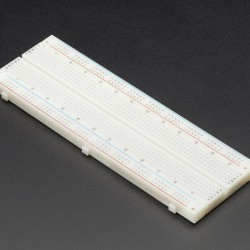
The storage module is based on EEPROM chips of AT24C series, 512K bit capacity, that's 64k bytes. The EEPROM module communicate with Arduino through the I2C interface.It will be better to use with Arduino-Sensor-Shield-V4.0 and the Arduino-I2C-COM-Cable.
The storage module is based on AT24C series of EEPROM chips, which the I2C base address is 0×50, and the last three addresses can be set according to need.
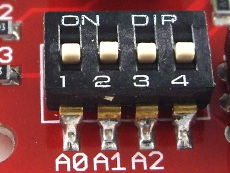
So we should set the last three address when we firstly use, it is through the A2, A1 and A0 of the four position DIP switch. Dial the DIP switch to up,the corresponding is 1; Dial the DIP switch to down,the corresponding is 0. Namely,if move the A2, A0, A1 to up, the corresponding address is 0×57, But if move the A2, A0, A1 to down, the corresponding address is 0×50.
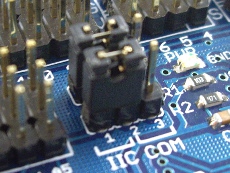
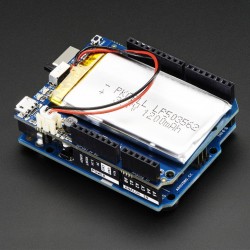
If you are using Arduino sensor shield V4 board, pay attention to that the position of IIC/COM jump line should be set up to the IIC side, because we need to use the I2C connection mode.
This module can be used with Arduino Special Sensor Shield V4.0.
You can do some simple design about it,it support“plug and play”.
Tags
 22,90 €
 15,99 €
") 3,99 €
3,99 €") 3,99 €
3,99 €

Productos Relacionados
-
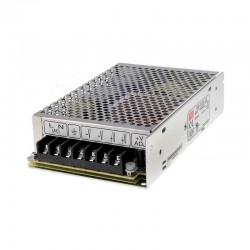
Fuente de alimentación Mean Well 100W...
59,00 €Add to cart -
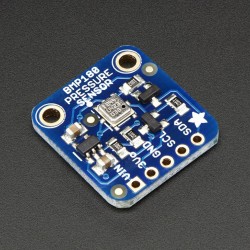
Barometric...
9,60 €Add to cart -

Digital LED Strip APA102-144 LED/m -...
50,00 €Add to cart -
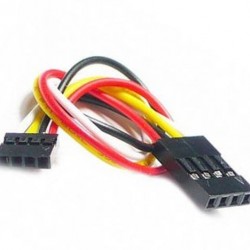
4 Pin Dual-female Jumper Wire - 200mm
0,85 €Add to cart -
4N35 Optocoupler
0,90 €Add to cart -
5 PushButton 6x6
1,99 €Add to cart -
70 Wires Kit M/M mixed colours
4,50 €Add to cart -
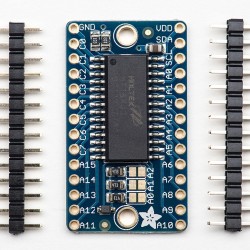
Adafruit 16x8 LED Matrix Driver Backpack
6,99 €Add to cart -
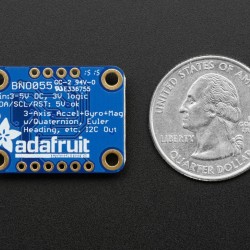
Adafruit 9-DOF Absolute Orientation...
33,50 €Add to cart -
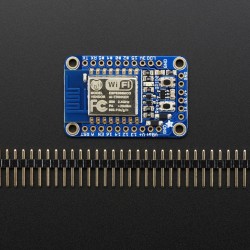
Adafruit HUZZAH ESP8266 Breakout
11,45 €Add to cart -
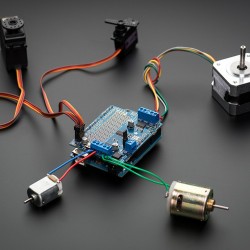
Adafruit Motor/Stepper/Servo Shield...
22,94 €Add to cart -
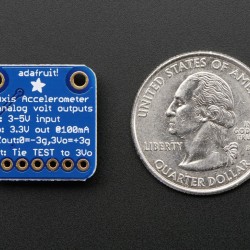
ADXL335 - 5V ready triple-axis...
17,20 €Add to cart -
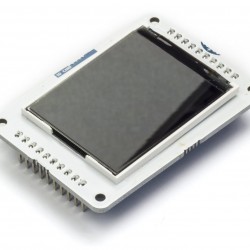
Arduino 1.77 inch SPI LCD Module with SD
17,10 €Add to cart -
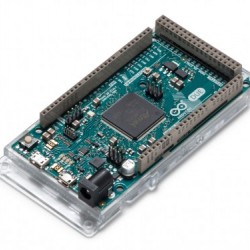
Arduino Due
39,99 €Add to cart -
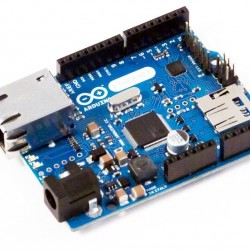
Arduino Ethernet Rev3 WITHOUT PoE
39,90 €Add to cart -
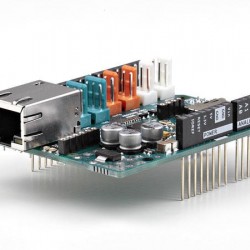
Arduino ETHERNET shield 2 (without PoE)
20,00 €Add to cart -
Arduino ETHERNET shield 2 CON PoE -...
33,50 €Add to cart -
Arduino GSM Shield 2 (antenna connector)
59,50 €Add to cart -
Arduino Holder type Uno
7,12 €Add to cart -
Arduino IDC-6 Special Cable-10cm
1,95 €Add to cart -
Arduino Industrial 101
32,50 €Add to cart -
Arduino Leonardo (+headers)
17,20 €Add to cart -
Arduino Leonardo ETH without PoE
39,90 €Add to cart -
Arduino LilyPad USB ATmega 32U4
19,50 €Add to cart -
Arduino Lucky Shield w/BME280
59,00 €Add to cart -
Arduino M0
18,00 €Add to cart -
Arduino Mega2560 Rev3
32,00 €Add to cart -
Arduino Micro
18,90 €Add to cart -
Arduino Nano
18,50 €Add to cart -
Arduino Sensor Extension Cable-30cm
1,80 €Add to cart -
Arduino Tian
87,00 €Add to cart -
Arduino Uno Rev3 with Long Pins
19,80 €Add to cart -

Arduino Uno WiFi
36,90 €Add to cart -

Arduino USB Host Shield
21,60 €Add to cart -
Arduino YUN mini
56,00 €Add to cart -

Botón conector fácil para Arduino
3,99 €Add to cart -
Box for Arduino
7,02 €Add to cart -
Box for Arduino YUN
7,11 €Add to cart -

Breadboard-friendly RGB Smart NeoPixel
9,15 €Add to cart -
Crazyflie 2.0 - BigQuad Deck
8,00 €Add to cart -
Crazyflie 2.0 - Breakout expansion board
4,50 €Add to cart -
Crazyflie 2.0 - Female expansion...
2,00 €Add to cart -
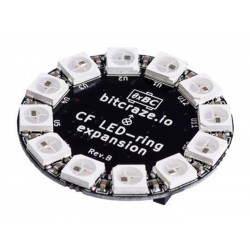
Crazyflie 2.0 - LED-ring Expansion Board
22,00 €Add to cart -
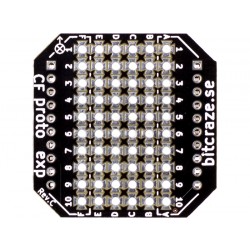
Crazyflie 2.0 - Prototyping expansion...
5,00 €Add to cart -
Crazyflie 2.0: 4 x spare 7 mm motor...
5,50 €Add to cart -
Crazyflie Nano Quadcopter - 4 x...
6,00 €Add to cart -
Crazyflie2.0 - Battery holder...
5,20 €Add to cart -
Digital RGB LED Weatherproof Strip -...
34,44 €Add to cart -
Expansion Pack
53,10 €Add to cart -
Extra-long break-away 0.1" 16-pin...
3,45 €Add to cart -
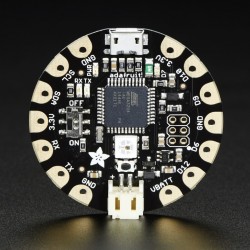
FLORA - Wearable electronic platform
14,60 €Add to cart -
Flow Breakout Board
45,00 €Add to cart -
KIT Workshop – Nivel Básico SIN placa...
35,00 €Add to cart -
Kit Workshop- Basic level
69,60 €Add to cart -
LattePanda 2G/32BG kit
172,90 €Add to cart -
Módulo de botones Common Digital V2.0...
5,99 €Add to cart -
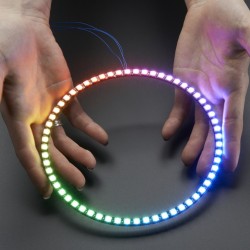
NeoPixel 1/4 60 Ring - WS2812 5050...
11,45 €Add to cart -
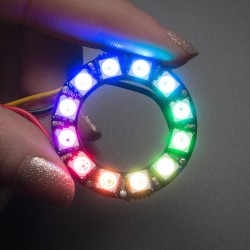
NeoPixel Ring - 12 x WS2812 5050 RGB...
8,50 €Add to cart -

NeoPixel Shield for Arduino - 40 RGB...
32,14 €Add to cart -

Pro Android Open Accessory...
36,00 €Add to cart -
Rainbowduino RGB Matrix Shield
41,90 €Add to cart -
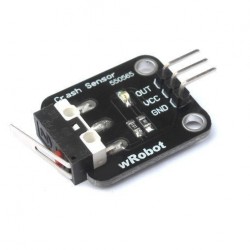
Robot Crash Sensor
3,99 €Add to cart -
Shield stacking headers for Arduino...
2,25 €Add to cart -
Stacking Header for Pi A+/B+/Pi 2
3,40 €Add to cart -
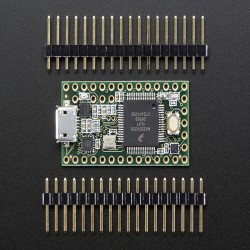
Teensy 3.2 Kit
74,99 €Add to cart -

Teensy 3.2 With Pins
25,30 €Add to cart -
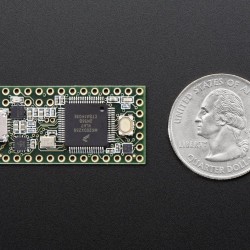
Teensy 3.2 Without Pins
22,30 €Add to cart -
TinkerKit - Basic Kit
79,90 €Add to cart -
TinkerKit - Starter Kit
79,90 €Add to cart -
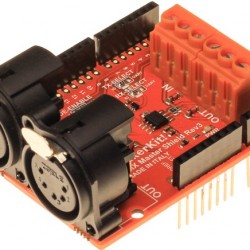
Tinkerkit Dmx Master Shield
20,00 €Add to cart -
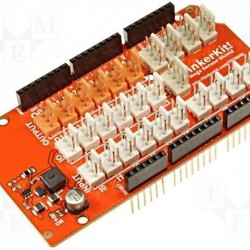
TinkerKit Mega Sensor Shield
14,60 €Add to cart -
TinkerKit Mosfet module
6,30 €Add to cart -
Touch Board
46,90 €Add to cart -
USB 2 Serial Converter
13,99 €Add to cart -
Wire Male/Female 10 pcs
2,99 €Add to cart -
18x2 Header Male Strip
0,50 €Add to cart -
32x32 RGB LED Matrix Panel - 4mm Pitch
57,99 €Add to cart -
Adafruit GEMMA v2
11,45 €Add to cart -
Adaptador USB Arduino XBee
14,89 €Add to cart -
Arduino M0 Pro
39,00 €Add to cart -
Arduino Motor Shield Rev3
20,00 €Add to cart -
Arduino Self-Adhesive Breadboard -...
5,90 €Add to cart -
Arduino Self-Adhesive Breadboard -...
3,75 €Add to cart -

Digital Buzzer(A/D) -Arduino Compatible
4,15 €Add to cart -
Full Breadboard PCB Module
5,90 €Add to cart -
GPIO Header for Raspberry Pi A+/B+/Pi 2
1,75 €Add to cart -
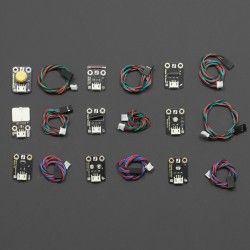
Gravity: 9 Pcs Sensor Set for Arduino
31,68 €Add to cart -
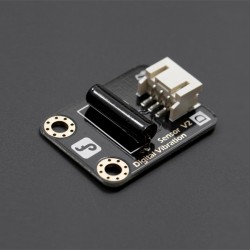
Gravity: Digital Vibration Sensor
5,18 €Add to cart -
Gravity:Analog LM35 Linear...
5,18 €Add to cart -
Gravity:Analog Rotation Sensor V2
4,03 €Add to cart -
Gravity:Analog Sound Sensor
7,94 €Add to cart -
Gravity:DIGITAL IR Transmitter Module
5,18 €Add to cart -
IR Kit For Arduino
8,63 €Add to cart -
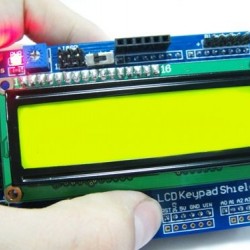
Keypad LCD Shield V2.0 -Arduino...
20,69 €Add to cart -
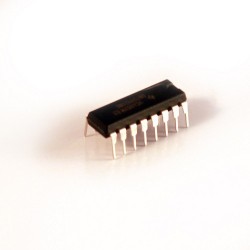
L293D
3,90 €Add to cart -
LCD 16x2 Serial
22,90 €Add to cart -

Making Things Talk 2nd Edition
28,00 €Add to cart -

Micro servo
6,85 €Add to cart -
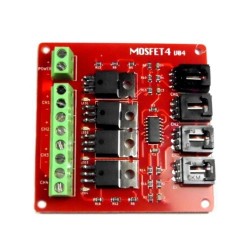
Módulo 4 canales MOSFET
22,99 €Add to cart -
Modulo de salida digital 8 canales
10,39 €Add to cart -
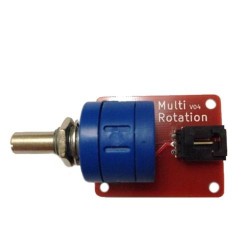
Multi Rotary Sensor -Arduino Compatible
7,59 €Add to cart -
PoE Module 12V
10,00 €Add to cart -
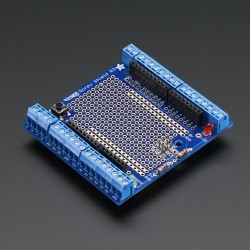
Proto-Screwshield (Wingshield) R3 Kit...
17,19 €Add to cart -
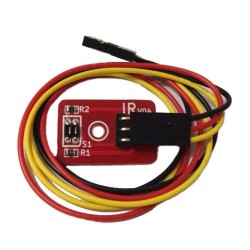
Reflectional Infrared Switch Sensor -...
4,15 €Add to cart -

Rotary Angle Sensor
3,59 €Add to cart -

Shield - Xbee
35,00 €Add to cart -

TinkerKit Power LED module
8,90 €Add to cart -
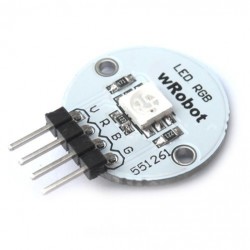
Wrobot Full Color RGB LED Module -A
4,60 €Add to cart -
Adafruit DC & Stepper Motor HAT for...
25,89 €Add to cart -
Adafruit PN532 NFC/RFID Controller...
45,99 €Add to cart -
Adafruit PowerBoost 500 Shield
22,99 €Add to cart -
Adafruit Pro Trinket LiIon/LiPoly...
5,99 €Add to cart -
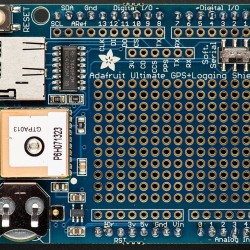
Adafruit Ultimate GPS Logger Shield
49,90 €Add to cart -
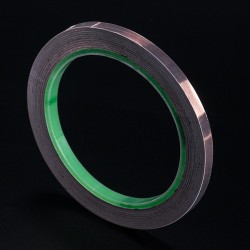
Copper Foil Tape with Conductive...
6,85 €Add to cart -
Shield - Wireless Shield
15,90 €Add to cart -
USB Host Android ADK Shield V2.3
16,90 €Add to cart -
16-Channel PWM / Servo HAT for...
20,15 €Add to cart -
Adafruit RGB Matrix HAT + RTC for...
28,69 €Add to cart -

GPS/GPRS/GSM Shield V3.0 (Arduino...
102,93 €Add to cart -
Mega Prototyping Shield for Arduino Mega
7,82 €Add to cart -

Prop Shield With Motion Sensors
22,49 €Add to cart -
Prop Shield, Low Cost (no Motion...
9,69 €Add to cart -
12mm Diffused Thin Digital RGB LED...
39,99 €Add to cart -
13.56MHz RFID/NFC Sticker - 1KB
2,89 €Add to cart -
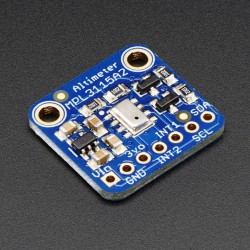
Barometric...
9,60 €Add to cart -
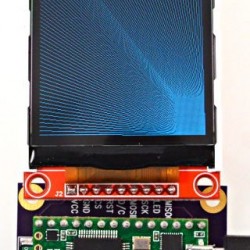
Display color TFT 320x240
9,89 €Add to cart -
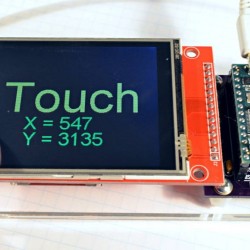
Display color TFT 320x240 Touchscreen...
13,90 €Add to cart -
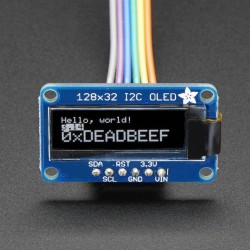
Monochrome 128x32 I2C OLED graphic...
20,15 €Add to cart -
Raspberry Pi Foundation Raspberry Pi...
180,00 €Add to cart -
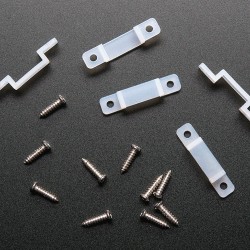
Silicone Clips and Screws for...
2,25 €Add to cart -

13.56MHz RFID/NFC Bracelet - 1KB
4,69 €Add to cart -
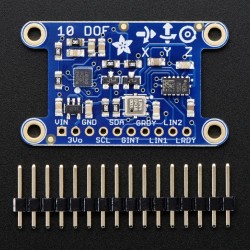
Adafruit 10-DOF IMU Breakout
34,45 €Add to cart -
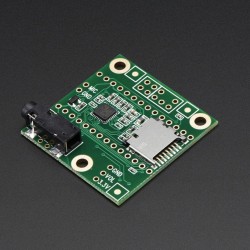
Audio Adaptor Board for Teensy 3.0 &...
17,49 €Add to cart -

InfraRed Led Strips SMD3528-600-IR...
19,36 €Add to cart -
Real Time Clock Module (DS1307) V1.1
5,06 €Add to cart -
Raspberry Pi Foundation Raspberry Pi...
89,00 €Add to cart -
Micro SD Card Adaptor
9,39 €Add to cart
CORZOTECH - EASY LIFE FOR INTERACTION