No products
Product successfully added to your shopping cart
There are 0 items in your cart. There is 1 item in your cart.
Bareconductive
Top sellers
-

Services
1,00 € -

4 Pin Dual-female...
0,85 € -

-

6 Pin Dual-female...
1,89 €
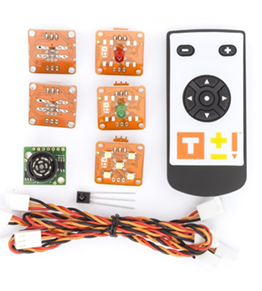


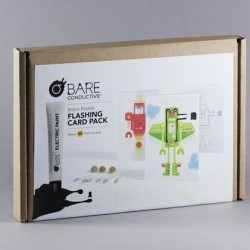
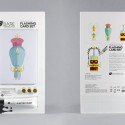
The Robot Parade Flashing Card Pack provides an engaging group activity for participants of all ages to learn how electricity flows through circuits with Bare Conductive’s Electric Paint. It introduces circuit symbols, component polarity and switches, and leads participants through attaching an LED and coin cell battery to make their designs flash.
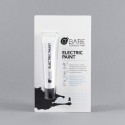
Bare Conductive’s Electric Paint is just like any other water-based paint, except that it’s electrically conductive. This means that you can paint wires directly onto paper.
The pack contains everything you need to lead a group of up to 30 in learning the basics of circuits and electricity using Electric Paint.
Master the basic principles of electronics and create colourful flashing robot cards in the process!
TECHNICAL DETAILS
• Great for use in the classroom, after school clubs or at home.
• This activity supports STE(A)M and the Design & Technology curriculum
• Suitable for KS2 & KS3 students.
• Draw a working circuit, cold solder components and create a switch
• Learn about polarity
• Duration 1 hr
• Up to 30 participants
• Easy and fun activity
• Electric Paint is water-based, nontoxic and solvent free
• Dries at room temperature in 10-15 minutes
• Must be fully dry to work
• Easily removable with soap and water
Extensive project examples and resources at: www.bareconductive.com/make
Directions:
For step-by-step instructions check out the Tutorial
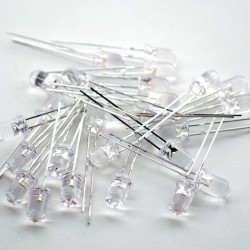
1. Insert LED light and battery through the pin holes.
2. Squeeze a continuous bead of Electric Paint over the line, and make sure to paint onto each component leg to create an electrical connection.
3. Wait 15 minutes for the paint to dry and let the blinking begin!
How Does it Work?
Electric Paint is conductive which means that electricity can pass through it. A battery provides power, and the current passes through the paint to reach the components in the circuit.
When you make a circuit the LED and battery have to be joined in a complete loop for it to work. The paper switch has a conductive patch which completes the circuit when you close it — hence the LED starts flashing! Electricity flows from the positive leg of the battery to the positive leg of the LED and back round again. LEDs and batteries are polarised which means electricity will only flow in one direction and so they must go in the circuit the right way round.
Troubleshooting:
• Broken circuit – Is your Electric Paint circuit broken or too thin? — Paint over it thicker, mend breaks.
• Contact – Does your Electric Paint circuit actually make contact with the components? — Add a blob at the base of the components to secure.
• Polarity – Is your LED or battery the wrong way round? Ensure the components are correctly positioned, positive legs in + holes.
• Short circuit – Are your LED or battery short-circuiting? — Take care to prevent Electric Paint from connecting between the legs! Take out the components and scrape away the paint in between or start again with another card template.
• Switch – Is the switch completely closing the circuit? — You may have to reposition it or paint a larger square of paint.
Workshop Tutorial
Follow this tutorial to run a successful workshop using our Flashing Card Activity Pack. The pack makes a great activity in any science classroom or technology group, and supports STEAM and the Design & Technology curriculum. Suited for ages 6 -16 years – or older!

Cold Soldering
Electric Paint can be used as both a liquid wire and an adhesive. Use it to attach components to a range of materials. This is a great alternative to the soldering iron when you’re in a hurry, or working with children!

Series and Parallel Circuits
This is a brief introduction into how you can use Electric Paint to cold solder components and create circuits in parallel and series. Even if you know this already, sometimes it’s a bit difficult to visualise how these circuits can start to become graphics that you can play with.

Tags


 17,50 €
 34,99 €
Electric Paint 50ml
Screen print, paint, or stencil circuits and sensors on any surface.
34,99 €In Stock 10,99 €
 16,90 €
 17,50 €
 46,90 €
 106,90 €
 17,50 €
 25,00 €

Related Products
-
Expansion Pack
53,10 €Add to cart -
STEM ranging bundle
385,00 €Add to cart -

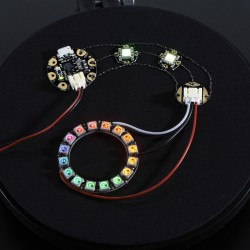
Breadboard-friendly RGB Smart NeoPixel
9,15 €Add to cart -
Diffused RGB (tri-color) LED
2,60 €Add to cart -
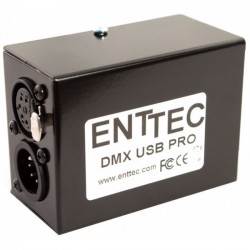
DMX USB pro Enttec
149,00 €Add to cart -
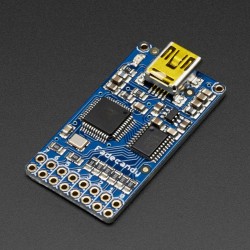
FadeCandy - Dithering USB
28,70 €Add to cart -
Flora RGB Smart NeoPixel version 2
40,20 €Add to cart -
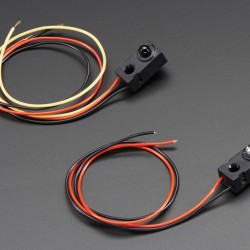
IR Break Beam Sensor
7,95 €Add to cart -
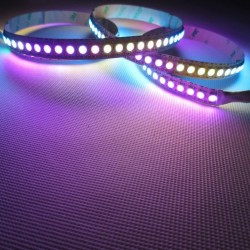
RGB digital led strip APA102 144 leds...
245,00 €Add to cart -

White LED Backlight Module
2,25 €Add to cart -

64x32 RGB LED Matrix - 3mm pitch
91,99 €Add to cart -
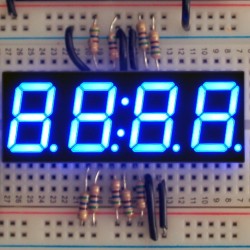
Blue 7-segment clock display
6,85 €Add to cart -
Diffused 5mm Slow Fade Flashing RGB LED
5,70 €Add to cart -
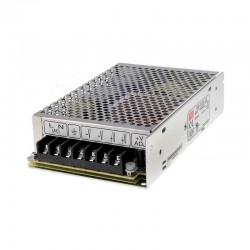
Mean Well power supply 100w 5V 20amp
59,00 €Add to cart -
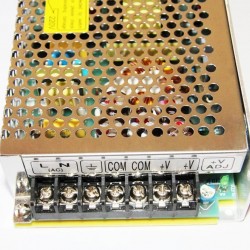
Power Supply 100 watts 12 volts DC 8amp
42,00 €Add to cart -
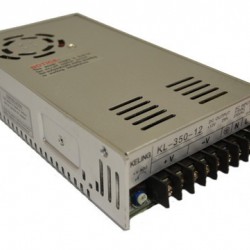
Power Supply 350W 12 V 29 amp
63,50 €Add to cart -
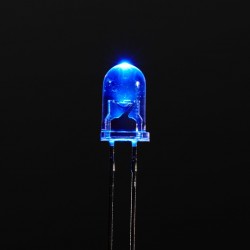
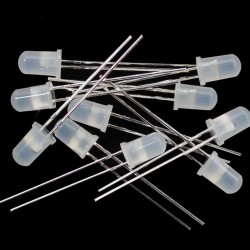
Super Bright Blue 5mm LED
9,20 €Add to cart -
Super Bright White 5mm LED
8,00 €Add to cart -
Adafruit LED Sequins
4,55 €Add to cart -
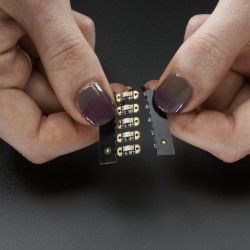
Flashing Card Set Conductive Encounters
17,50 €Add to cart -
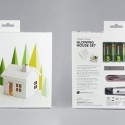
Glowing House Set Voltage Village
25,00 €Add to cart -
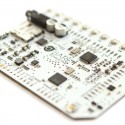
Touch Board
46,90 €Add to cart -
Flashing Card Set Power Animals
17,50 €Add to cart -
Flashing Card Set Merry Resistivities
16,90 €Add to cart -
Flashing Set Celebration Circuit
17,50 €Add to cart -
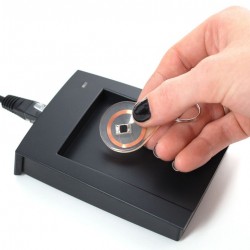
RFID RFID/NFC S50 Card Reader
37,90 €Add to cart -
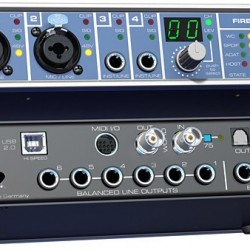
RME Fireface UC
750,00 €Add to cart -
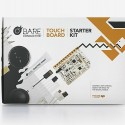
Touch Board Starter Kit
106,90 €Add to cart -
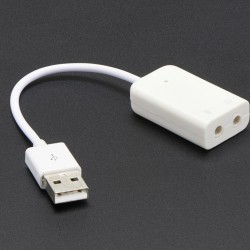
USB Audio Adapter
4,99 €Add to cart -
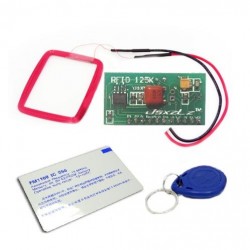
125Khz RFID Mini Module Kits
14,95 €Add to cart -
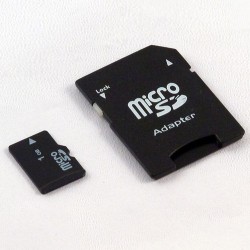
Micro SD card 4GB with SD adaptor
7,90 €Add to cart -
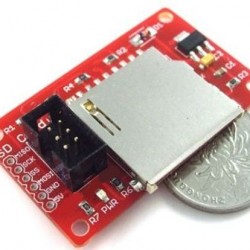
SPI SD Memory Shield
11,39 €Add to cart -
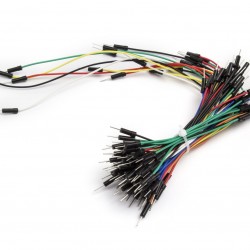
70 Wires Kit M/M mixed colours
4,50 €Add to cart -

Knit Jersey Conductive Fabric
10,30 €Add to cart -
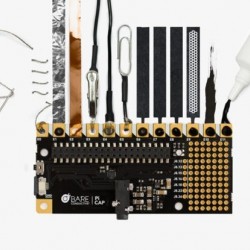
PI CAP
32,50 €Add to cart -
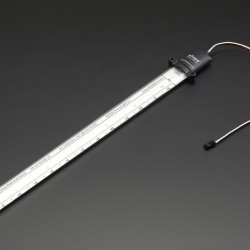
12" Standard eTape Liquid Level...
56,99 €Add to cart -
Brass Liquid Solenoid Valve
28,70 €Add to cart -
Electric Paint 50ml
34,99 €Add to cart -
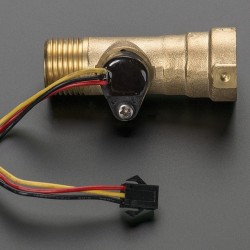
Liquid Flow Meter
28,70 €Add to cart -
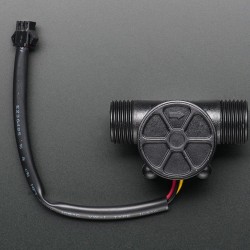
Liquid Flow Meter
11,45 €Add to cart -
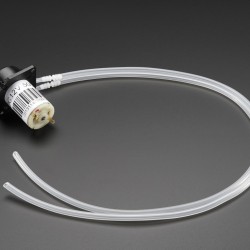
Peristaltic Liquid Pump with Silicone...
26,50 €Add to cart -
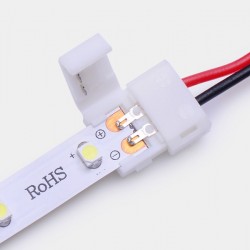
IP65 waterproof strip splice connector
1,45 €Add to cart -
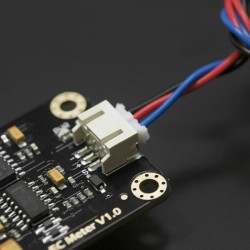
Analog Electrical Conductivity Meter...
72,34 €Add to cart -
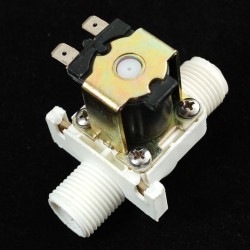
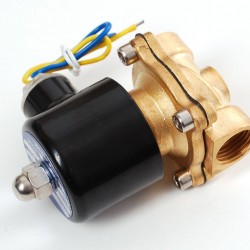
Plastic Water Solenoid Valve
7,10 €Add to cart -
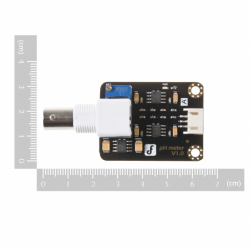
Analog pH Meter Kit
33,93 €Add to cart -

Analog pH Meter Pro
65,49 €Add to cart -
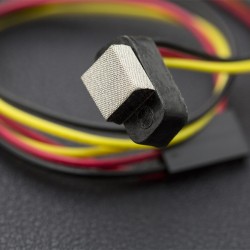
Non-contact Liquid Level Switch
16,56 €Add to cart -
3M Z-Axis Conductive Tape 9703
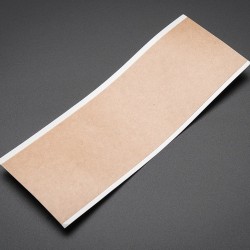
6,30 €Add to cart -

Conductive Fiber
4,20 €Add to cart -
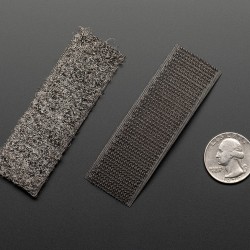
Conductive Hook & Loop Tape (Velcro)
8,99 €Add to cart -
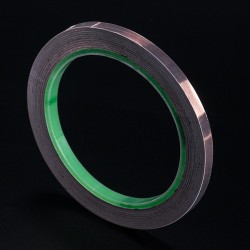
Copper Foil Tape with Conductive...
6,85 €Add to cart -

Copper Foil Tape wth Conductive...
25,95 €Add to cart -
Electric Paint 10ml
10,99 €Add to cart -

Flex PCB Material - Pyralux - 6" by...
12,50 €Add to cart -
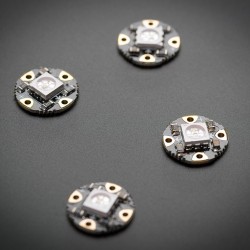
Flora RGB Smart NeoPixel version 2
9,15 €Add to cart -

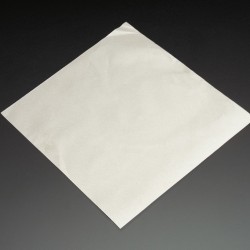
ITO (Indium Tin Oxide) Coated Glass
6,85 €Add to cart -
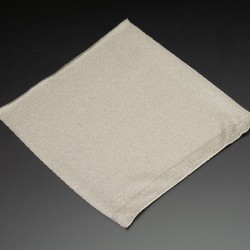
Knit Conductive Fabric
11,45 €Add to cart -

Pressure-Sensitive Conductive Sheet...
4,50 €Add to cart -
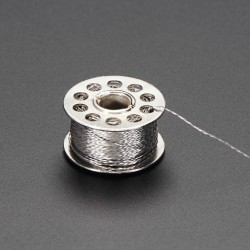
Stainless Thin Conductive Thread
7,15 €Add to cart -

TOUCH BOARD PRO KIT
112,00 €Add to cart -
TOUCH BOARD WORKSHOP PACK
519,99 €Add to cart -
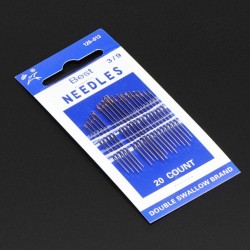
Needle set - 3/9 sizes
2,25 €Add to cart -
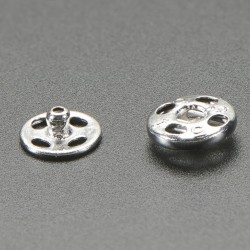
Sewable Snaps - 5mm Diameter
4,55 €Add to cart -
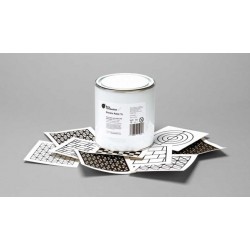
ELECTRIC PAINT 1L
359,00 €Add to cart -
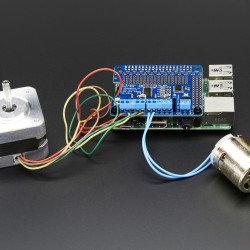
Adafruit DC & Stepper Motor HAT for...
25,89 €Add to cart -
Assembled Drawdio fun pack - v1.1
25,87 €Add to cart -
Crazyflie 2.0 - male expansion...
2,90 €Add to cart -

Microsoft IoT Pack for Raspberry Pi 3 -
119,70 €Add to cart -

Pure Copper Heatsink Pack for...
5,19 €Add to cart -
Sugru - Black and White Pack
19,99 €Add to cart -

Z-Wave.Me Raspberry Security Bundle,...
132,90 €Add to cart -
LattePanda Starter Kit (American...
34,39 €Add to cart -
Crazyflie Micro SD Card Deck
10,00 €Add to cart -
Raspberry Pi 3 Starter Kit Set2
64,19 €Add to cart -
Audio Adaptor Board for Teensy 3.0 &...
17,49 €Add to cart -
Micro SD Card Adaptor
9,39 €Add to cart -

Raspberry Pi 3 Starter Kit Set1
64,39 €Add to cart -
WIZ820 + SD Adaptor
6,99 €Add to cart -
Arduino LilyPad USB ATmega 32U4
19,50 €Add to cart -

Conductive thread ribbon cable - Black
6,19 €Add to cart -
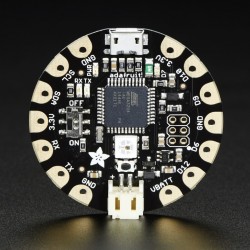
FLORA - Wearable electronic platform
14,60 €Add to cart -
Flora Sewable 3-Pin JST Wiring Adapter
2,99 €Add to cart -
Soft Potentiometer Kit from Plug&Wear
10,49 €Add to cart -
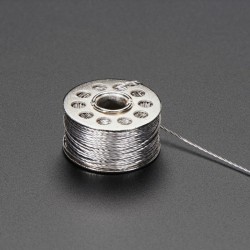
Stainless Medium Conductive Thread
8,00 €Add to cart -

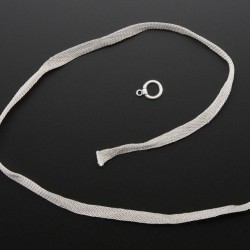
Stainless Steel Conductive Ribbon...
26,99 €Add to cart -
Woven Conductive Fabric
5,70 €Add to cart -

ITO (Indium Tin Oxide) Coated PET...
11,45 €Add to cart -
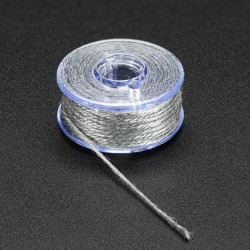
Stainless Thin Conductive Yarn /...
5,19 €Add to cart
CORZOTECH - EASY LIFE FOR INTERACTION