No products
Product successfully added to your shopping cart
There are 0 items in your cart. There is 1 item in your cart.
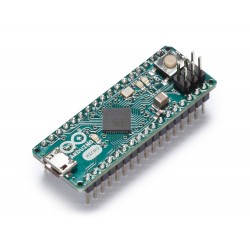
Teensy
Top sellers
-

Services
1,00 € -

4 Pin Dual-female...
0,85 € -

-

6 Pin Dual-female...
1,89 €


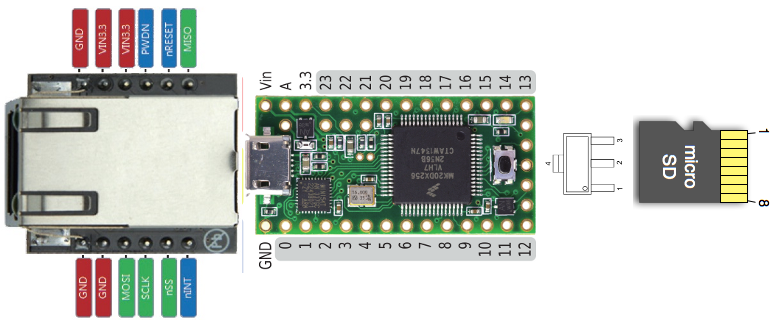
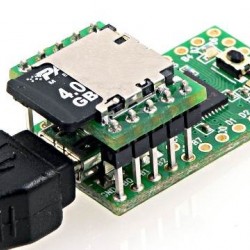
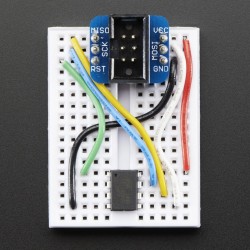
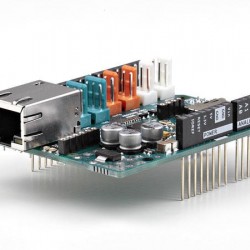
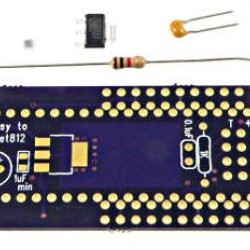
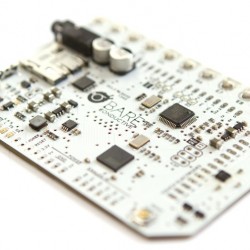
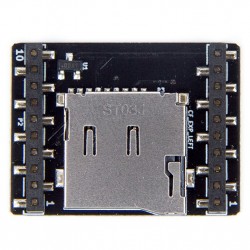
This adaptor allows you to easily use gigabytes of SD card flash memory and/or a Wiznet WIZ820io ethernet module with Teensy LC, 3.0, 3.1 or 3.2.
Rev 2 - Easier SPI Sharing
A second revision adds pullup resistors on pins 4, 9 and 10, and a reset chip for the WIZ820io.
These resistors keep the SD card and WIZ820io from responding to other SPI communication. Some WIZ820io can disrupt SPI communication before being reset, even of their chip select pin is pulled high. The new reset chip guarantees proper reset at startup, even if the recommended code below is not used.
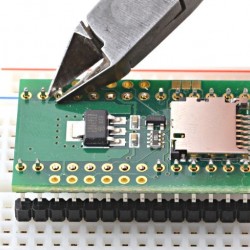
Recommended Assembly Steps
Place the header pins in a breadboard or other fixture to hold them straight and at the correct spacing. Position the WIZ820_SD_ADAPTOR on the pins.
Trim the 12 inner pins next to the WIZ820 pads.
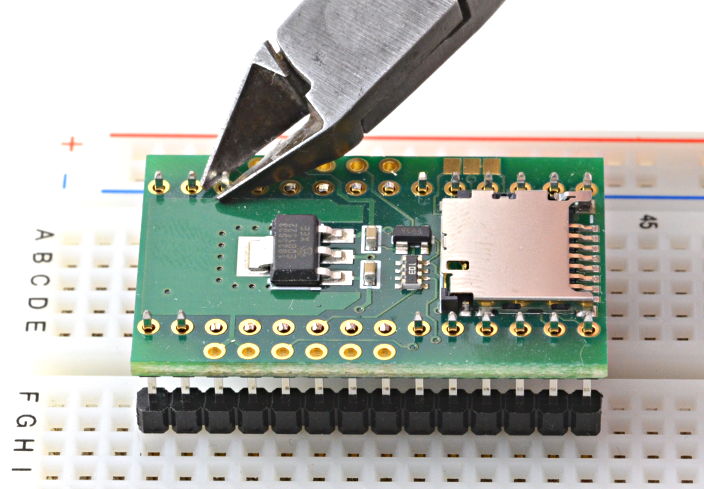
Solder the 28 header pins to the WIZ820_SD_ADAPTOR.

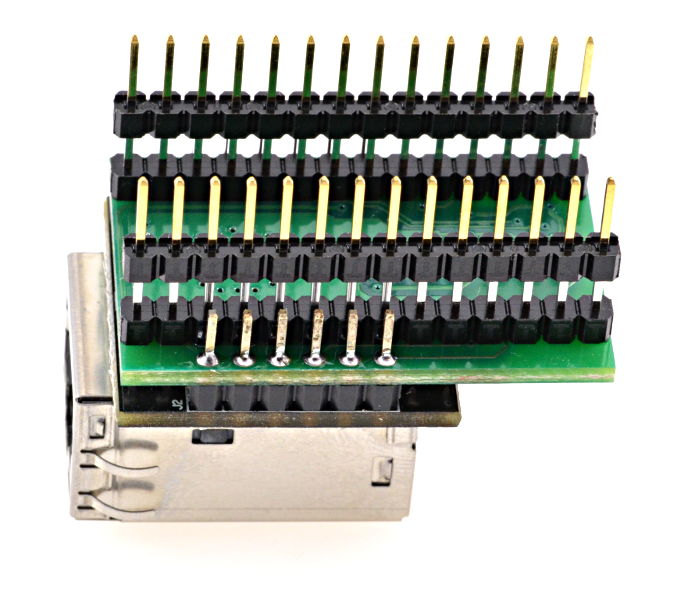
Solder the 12 WIZ820io pin to the WIZ820_SD_ADAPTOR.
Optionally, the WIZ820io pins can be placed into sockets and the sockets soldered to the WIZ820_SD_ADAPTOR, to allow the WIZ820io to be removed.
Solder the 28 header pins to Teensy 3.x.
Optionally, the header pins can be placed into sockets and the sockets soldered to the Teensy 3.x.
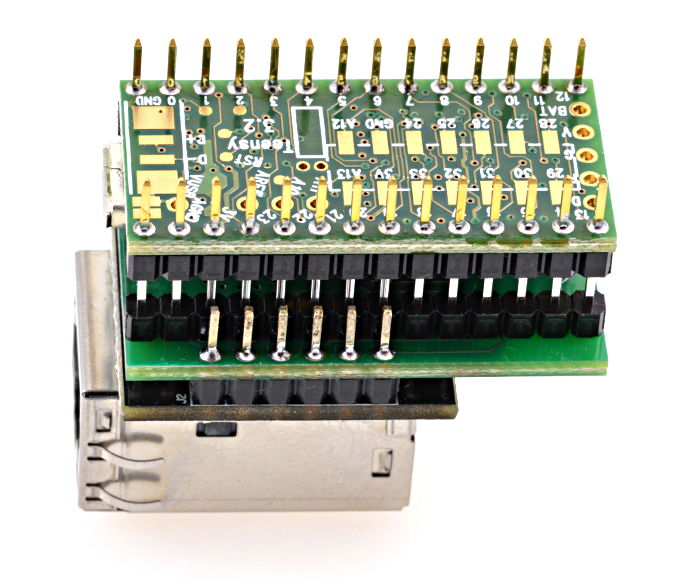
After assembly, the stack of boards should look like this:

Electrical Connections
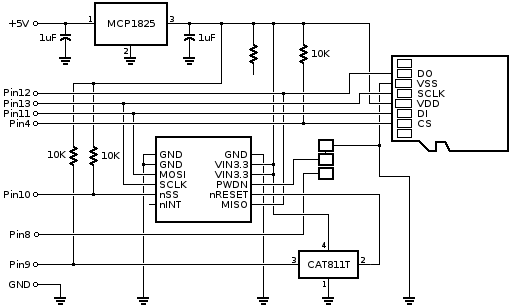
This table lists the electrical connections on this adaptor board.
The WIZ820io and SD card are connected to the default pins used by the Arduino Ethernet and SD libraries. For the SD library, pin 4 should be used in the begin() function.
By default, the center and right side of the jumper pads are connected, which keeps the WIZ820io powered up. For low power applications, the pads can be cut apart and the left+center joined to allow pin 8 to control the WIZ820io powerdown feature.
Chip Select Pins During Initialization
Some SD cards can be sensitive to SPI activity while the Ethernet library is initilized before the SD library.
For best compatibility with all SD cards, these 6 lines are recommended at the beginning of setup(). Pins 4, 9, and 10 will be reconfigured and controlled by the SD and Ethernet libraries.
void setup() {
  pinMode(9, OUTPUT);
  digitalWrite(9, LOW);   // reset the WIZ820io
  pinMode(10, OUTPUT);
  digitalWrite(10, HIGH);  // de-select WIZ820io
  pinMode(4, OUTPUT);
  digitalWrite(4, HIGH);   // de-select the SD Card
Tags
 22,30 €
 25,30 €
 13,95 €
 16,95 €
 12,49 €
 17,49 €

Related Products
-
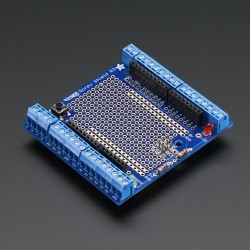
Teensy 3.2 Kit
74,99 €Add to cart -
Display color TFT 320x240
9,89 €Add to cart -
Display color TFT 320x240 Touchscreen...
13,90 €Add to cart -
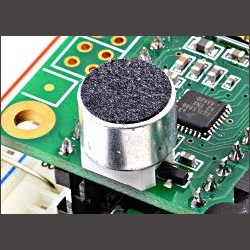
Microphone For Audio Adaptor
1,59 €Add to cart -
OctoWS2811 Adaptor for Teensy 3.2
12,49 €Add to cart -
Teensy 3.2 With Pins
25,30 €Add to cart -
Teensy 3.2 Without Pins
22,30 €Add to cart -
Teensy-LC With Pins
16,95 €Add to cart -
Teensy-LC Without Pins
13,95 €Add to cart -
Teensy to XBee Adaptor Kit
6,99 €Add to cart -
Assembled kit for audio tutorial
69,00 €Add to cart -
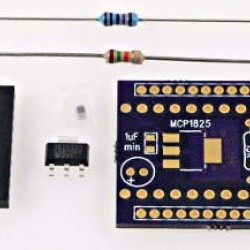
Audio Adaptor Board for Teensy 3.0 &...
17,49 €Add to cart -
Micro SD Card Adaptor
9,39 €Add to cart -
Parts for audio tutorial
6,99 €Add to cart -

Prop Shield With Motion Sensors
22,49 €Add to cart -
Prop Shield, Low Cost (no Motion...
9,69 €Add to cart -
12V EL wire/tape inverter
5,99 €Add to cart -
Adafruit 6-pin AVR ISP Breadboard...
1,65 €Add to cart -
Easy Connector female For LED Strip...
1,59 €Add to cart -
Easy Connector male For LED Strip...
1,59 €Add to cart -
Flora Sewable 3-Pin JST Wiring Adapter
2,99 €Add to cart -
Link box for HTC Vive
39,30 €Add to cart -
TPCAST Wireless Adapter HTC Vive,...
343,00 €Add to cart -
USB Audio Adapter
4,99 €Add to cart -
Wall Adapter USB Power Supply 5V@2.5A...
7,99 €Add to cart -
1/4" to 1/4" Screw Adapter
1,75 €Add to cart -
10MM Snap Down Strip to Strip With...
1,80 €Add to cart -
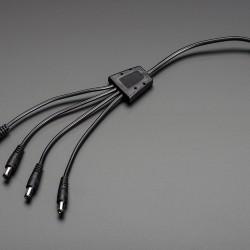
4-Way 2.1mm DC Barrel Jack Splitter
5,70 €Add to cart -

Camera and Tripod 3/8" to 1/4"...
1,75 €Add to cart -
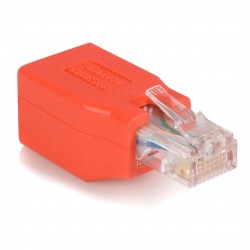
Gigabit Cat 6 Crossover Ethernet Adapter
8,99 €Add to cart -
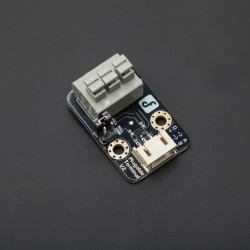
Gravity:Terminal Sensor Adapter V2.0
2,82 €Add to cart -
Heavy Duty Industrial Series Adapter...
18,07 €Add to cart -

Heavy Duty Industrial Series Adapter...
74,99 €Add to cart -

Heavy Duty Industrial Series Adapter...
39,95 €Add to cart -

Key Switch with DC Plug
6,44 €Add to cart -
LED RGB Junction Box 4Pin LED RGB...
2,41 €Add to cart -
Micro SD card 4GB with SD adaptor
7,90 €Add to cart -
XBee USB Adapter
14,89 €Add to cart -
Arduino ETHERNET shield 2 (without PoE)
20,00 €Add to cart -
Arduino ETHERNET shield 2 CON PoE -...
33,50 €Add to cart -
Arduino Ethernet WITHOUT Poe
39,90 €Add to cart -
Arduino Holder type Uno
7,12 €Add to cart -
Arduino Leonardo ETH WITH PoE
51,90 €Add to cart -
Arduino Leonardo ETH without PoE
39,90 €Add to cart -

Aruino Yun WITH poe
71,00 €Add to cart -
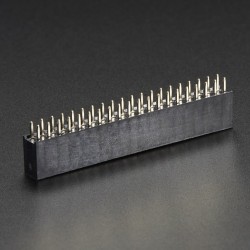
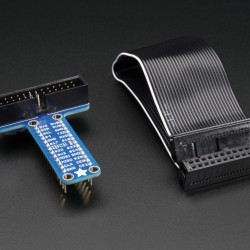
GPIO Header for Raspberry Pi
2,00 €Add to cart -

Moncha lite laser controller
285,00 €Add to cart -
OPEN DMX ETHERNET ODE ENTTEC
260,00 €Add to cart -
Open DMX Ethernet with poe Enttec
295,00 €Add to cart -
Shield stacking headers for Arduino...
2,25 €Add to cart -
Stacking Header for Pi A+/B+/Pi 2
3,40 €Add to cart -
Teensy to WIZ812 Ethernet Adaptor Kit
8,69 €Add to cart -
GPIO Header for Raspberry Pi A+/B+/Pi 2
1,75 €Add to cart -
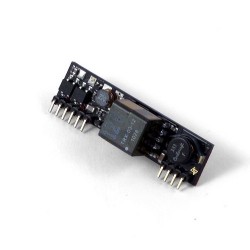
PoE Module 12V
10,00 €Add to cart -
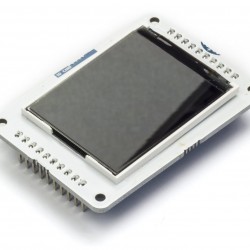
Arduino 1.77 inch SPI LCD Module with SD
17,10 €Add to cart -
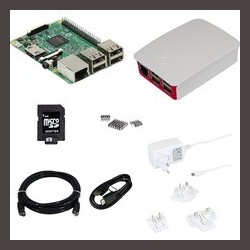
Raspberry Pi 3 Starter Kit Set2
64,19 €Add to cart -
Touch Board
46,90 €Add to cart -
Touch Board Starter Kit
106,90 €Add to cart -
Mp3 Usb SD Player
19,90 €Add to cart -
10-pin IDC Socket Rainbow Breakout Cable
3,40 €Add to cart -
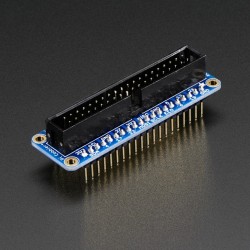
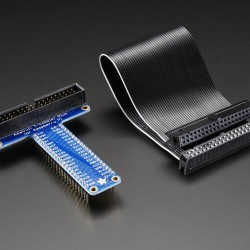
Adafruit Assembled Pi T-Cobbler...
6,95 €Add to cart -
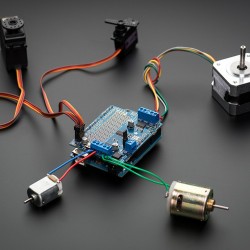
Adafruit Motor/Stepper/Servo Shield...
22,94 €Add to cart -
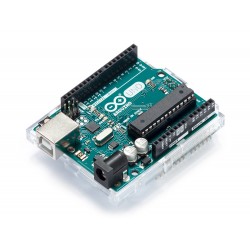
Arduino Uno Rev3 with Long Pins
19,80 €Add to cart -
Assembled Pi Cobbler Plus - Breakout...
6,95 €Add to cart -
Assembled Pi T-Cobbler Plus - GPIO...
6,99 €Add to cart -
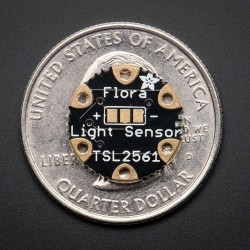
Flora Lux Sensor - TSL2561 Light...
9,15 €Add to cart -
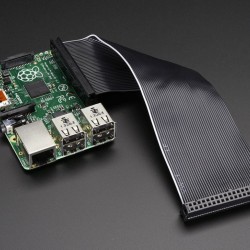
GPIO Ribbon Cable for Raspberry Pi...
2,95 €Add to cart -
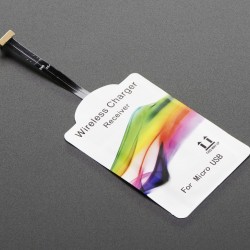
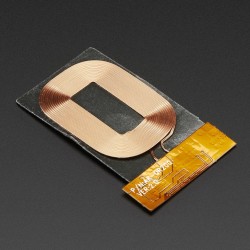
Universal Qi Wireless Charging Module
32,10 €Add to cart -

pins male copper electroplated for...
0,22 €Add to cart -
Proto-Screwshield (Wingshield) R3 Kit...
17,19 €Add to cart -
White 4 Pins RGB Strip Connect Female...
1,25 €Add to cart -
Adafruit 16x8 LED Matrix Driver Backpack
6,99 €Add to cart -
Adafruit Ultimate GPS FeatherWing
43,50 €Add to cart -

Arduino Uno WiFi
36,90 €Add to cart -
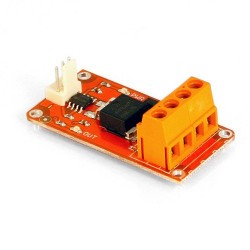
Controllable Four Outlet Power Relay...
22,00 €Add to cart -

Digital Commom Button Module
3,99 €Add to cart -
Digital Commom Button Module V2.0...
5,99 €Add to cart -
Expansion Pack
53,10 €Add to cart -
Sensor Shield V5.0 -Arduino Compatible
15,99 €Add to cart -
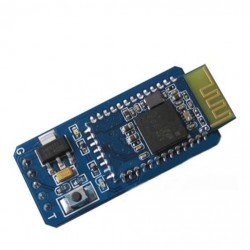
Serial Port Bluetooth Module With...
19,90 €Add to cart -
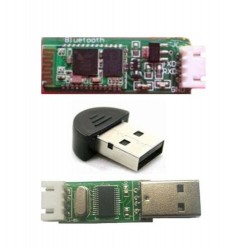
Slave Serial Port Bluetooth Module Kit
34,50 €Add to cart -
TinkerKit - Basic Kit
79,90 €Add to cart -
TinkerKit Mosfet module
6,30 €Add to cart -
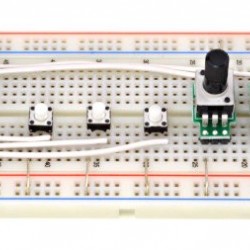
TinkerKit PushButton module
2,90 €Add to cart -
TinkerKit Sensor Shield V.2 MODULE
12,10 €Add to cart -
![TinkerKit Wires [100cm] module](https://corzotech.com/192-home_default/tinkerkit-wires-100cm-module.jpg)
TinkerKit Wires [100cm] module
2,50 €Add to cart -
![TinkerKit Wires [20cm] module](https://corzotech.com/190-home_default/tinkerkit-wires-20cm-module.jpg)
TinkerKit Wires [20cm] module
1,20 €Add to cart -

White LED Backlight Module
2,25 €Add to cart -
Z-Wave.Me Raspberry Security Bundle,...
132,90 €Add to cart -

64x32 RGB LED Matrix - 3mm pitch
91,99 €Add to cart -
Digital Output-Port Shield V2.0
10,39 €Add to cart -
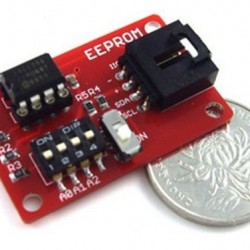
EEPROM Shield With 512K
16,09 €Add to cart -
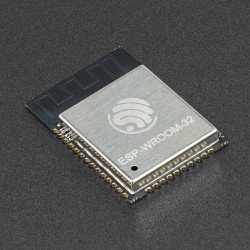
ESP32 WiFi-BT-BLE MCU Module /...
8,49 €Add to cart -
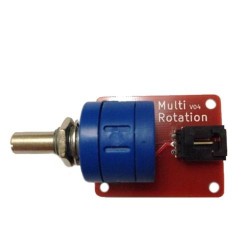
Multi Rotary Sensor -Arduino Compatible
7,59 €Add to cart -
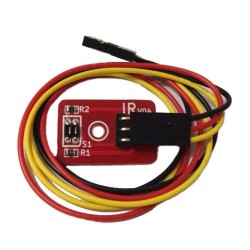
Reflectional Infrared Switch Sensor -...
4,15 €Add to cart -

TinkerKit Power LED module
8,90 €Add to cart -
Universal Qi Wireless Receiver Module
17,20 €Add to cart -
Wire AWG 20AWG RGB 50m/roll
23,90 €Add to cart -
Adafruit Micro Lipo - USB...
6,99 €Add to cart -
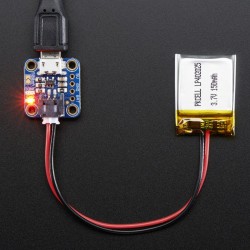
Adafruit Micro Lipo w/MicroUSB Jack -...
8,15 €Add to cart -
Arduino Micro
18,90 €Add to cart -
Double Sided Micro USB Cable
3,59 €Add to cart -
NeoPixel Shield for Arduino - 40 RGB...
32,14 €Add to cart -
USB Micro wire
3,49 €Add to cart -
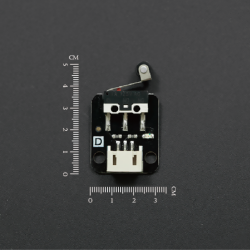
Crash sensor(Left)
3,34 €Add to cart -
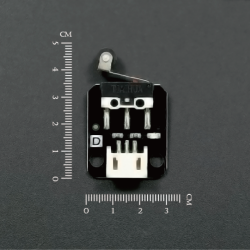
Crash sensor(Right)
3,34 €Add to cart -

Micro servo
6,85 €Add to cart -
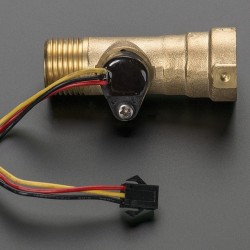
Liquid Flow Meter
28,70 €Add to cart -

Flashing Card Set Power Animals
17,50 €Add to cart -
Crazyflie Micro SD Card Deck
10,00 €Add to cart -

Flashing Card Activity Pack Robot Parade
99,98 €Add to cart -

Flashing Card Set Conductive Encounters
17,50 €Add to cart -

Flashing Card Set Merry Resistivities
16,90 €Add to cart -

Flashing Set Celebration Circuit
17,50 €Add to cart -
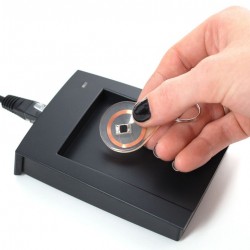
RFID RFID/NFC S50 Card Reader
37,90 €Add to cart -
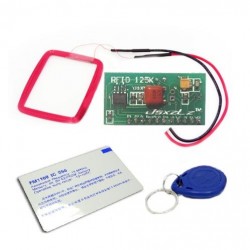
125Khz RFID Mini Module Kits
14,95 €Add to cart -
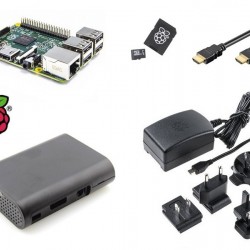
Raspberry Pi 3 Starter Kit Set1
64,39 €Add to cart -
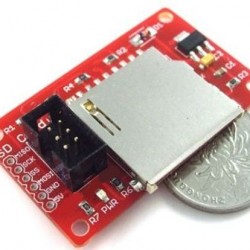
SPI SD Memory Shield
11,39 €Add to cart
CORZOTECH - EASY LIFE FOR INTERACTION